1. Get everything out of the box and organised
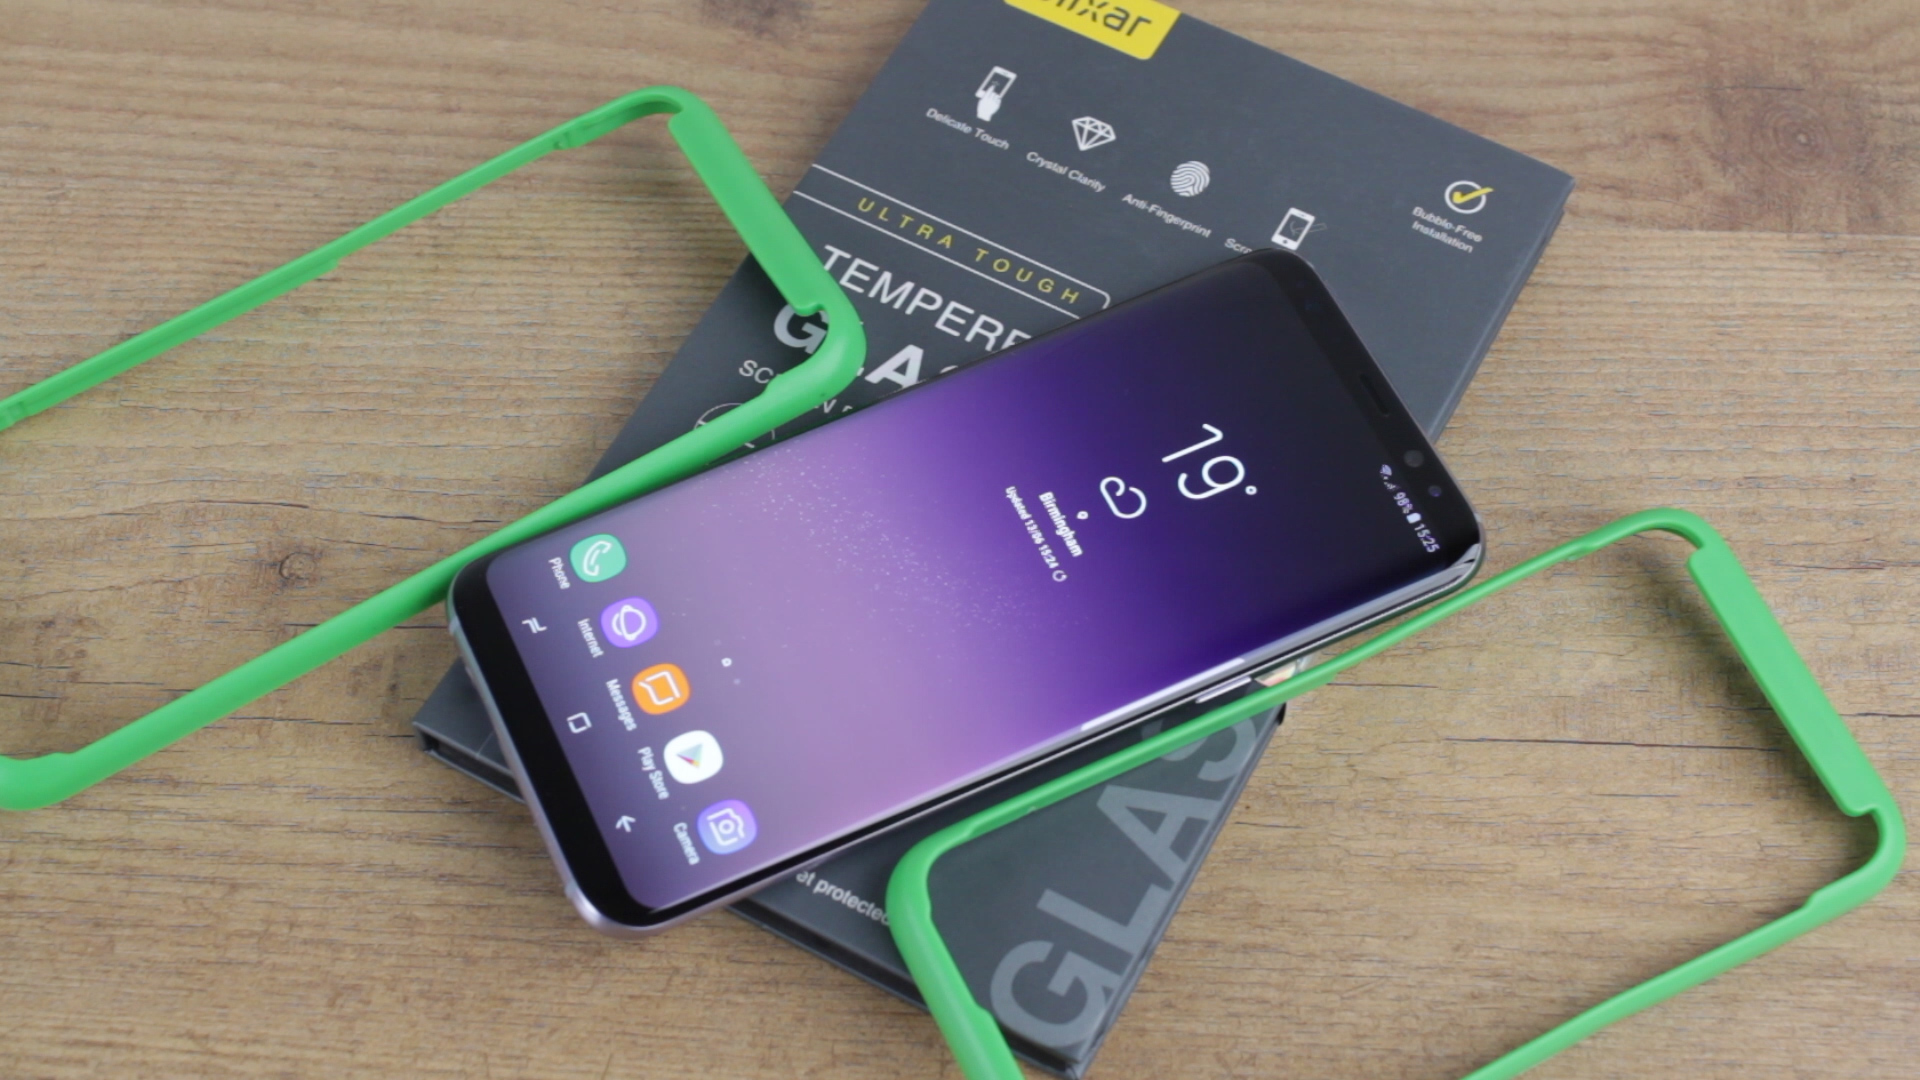
This is a relatively obvious instruction, but having everything to hand and ready to go can speed things up, while making sure everything runs smoothly. Dust can easily creep onto your display while your rummaging around looking for something in the box, so having it all out and ready will ensure that you’ll be able to keep the process moving along quickly.
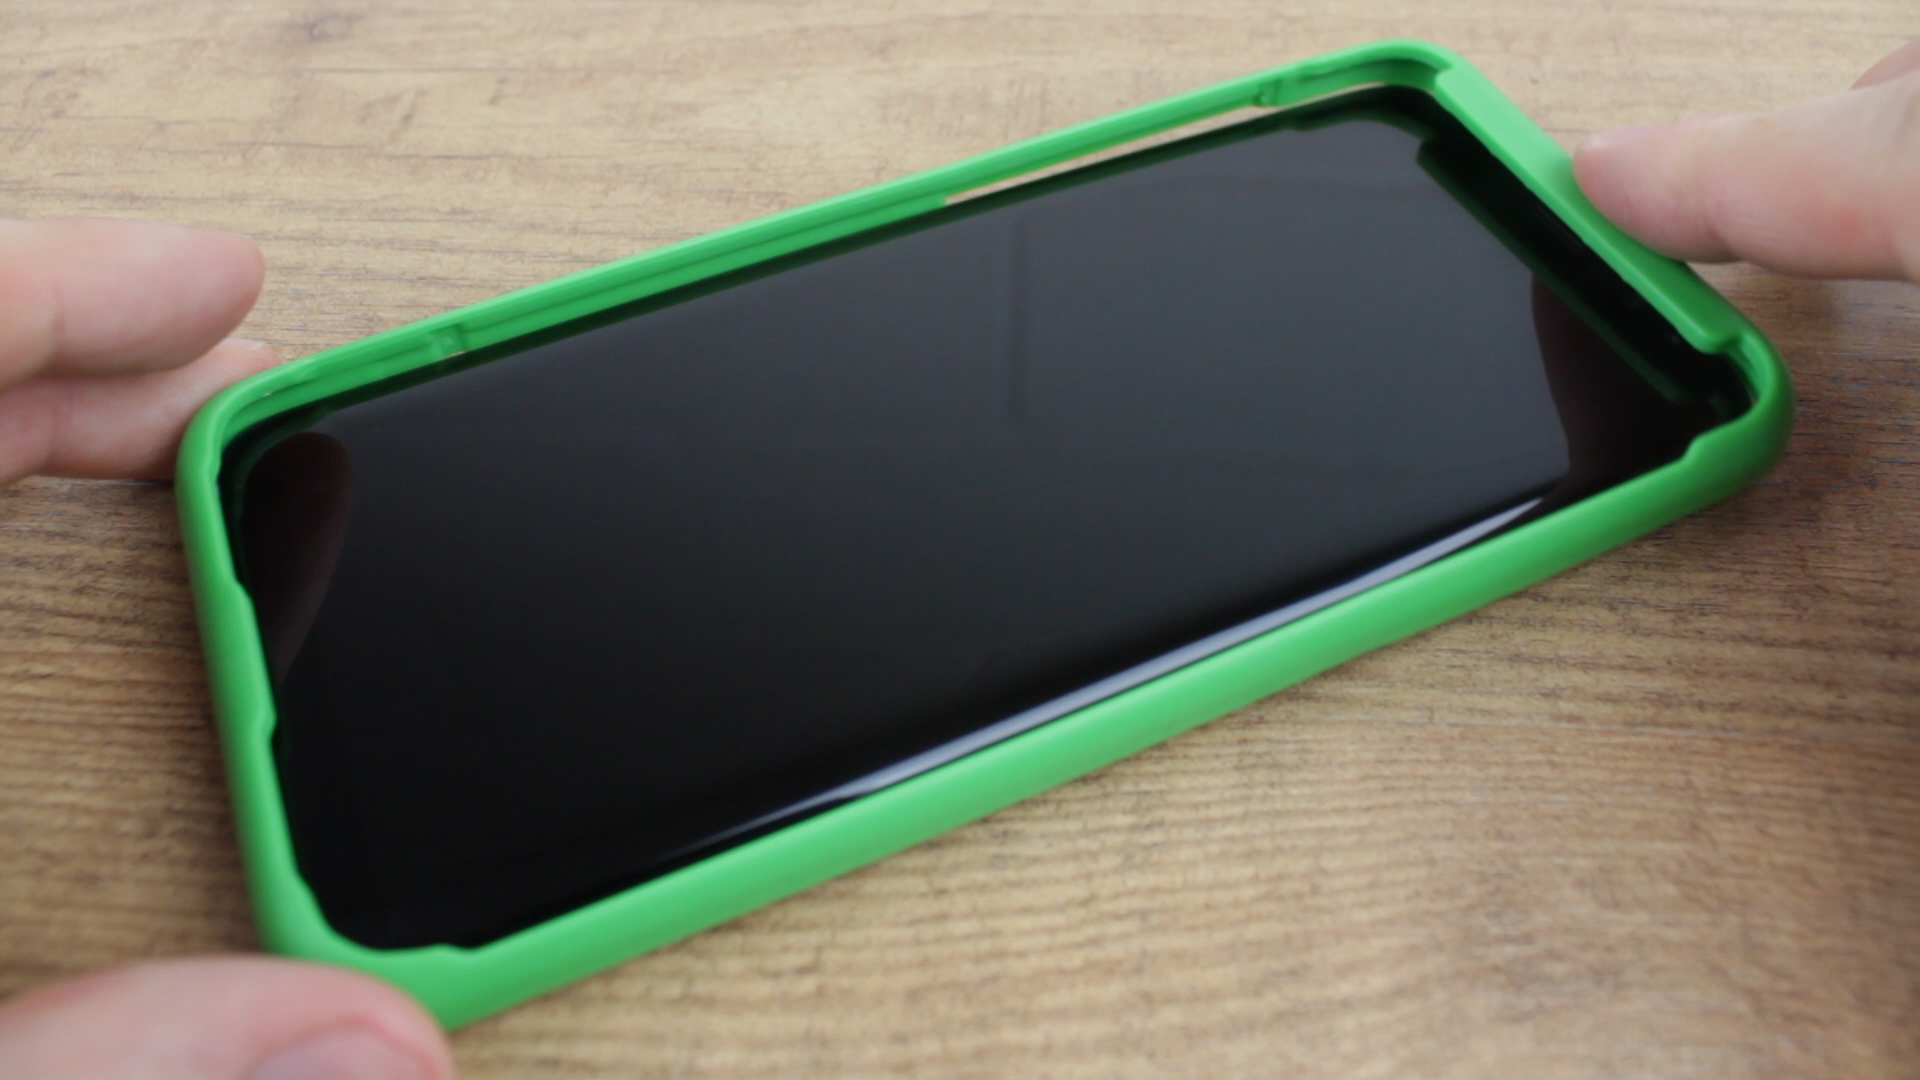
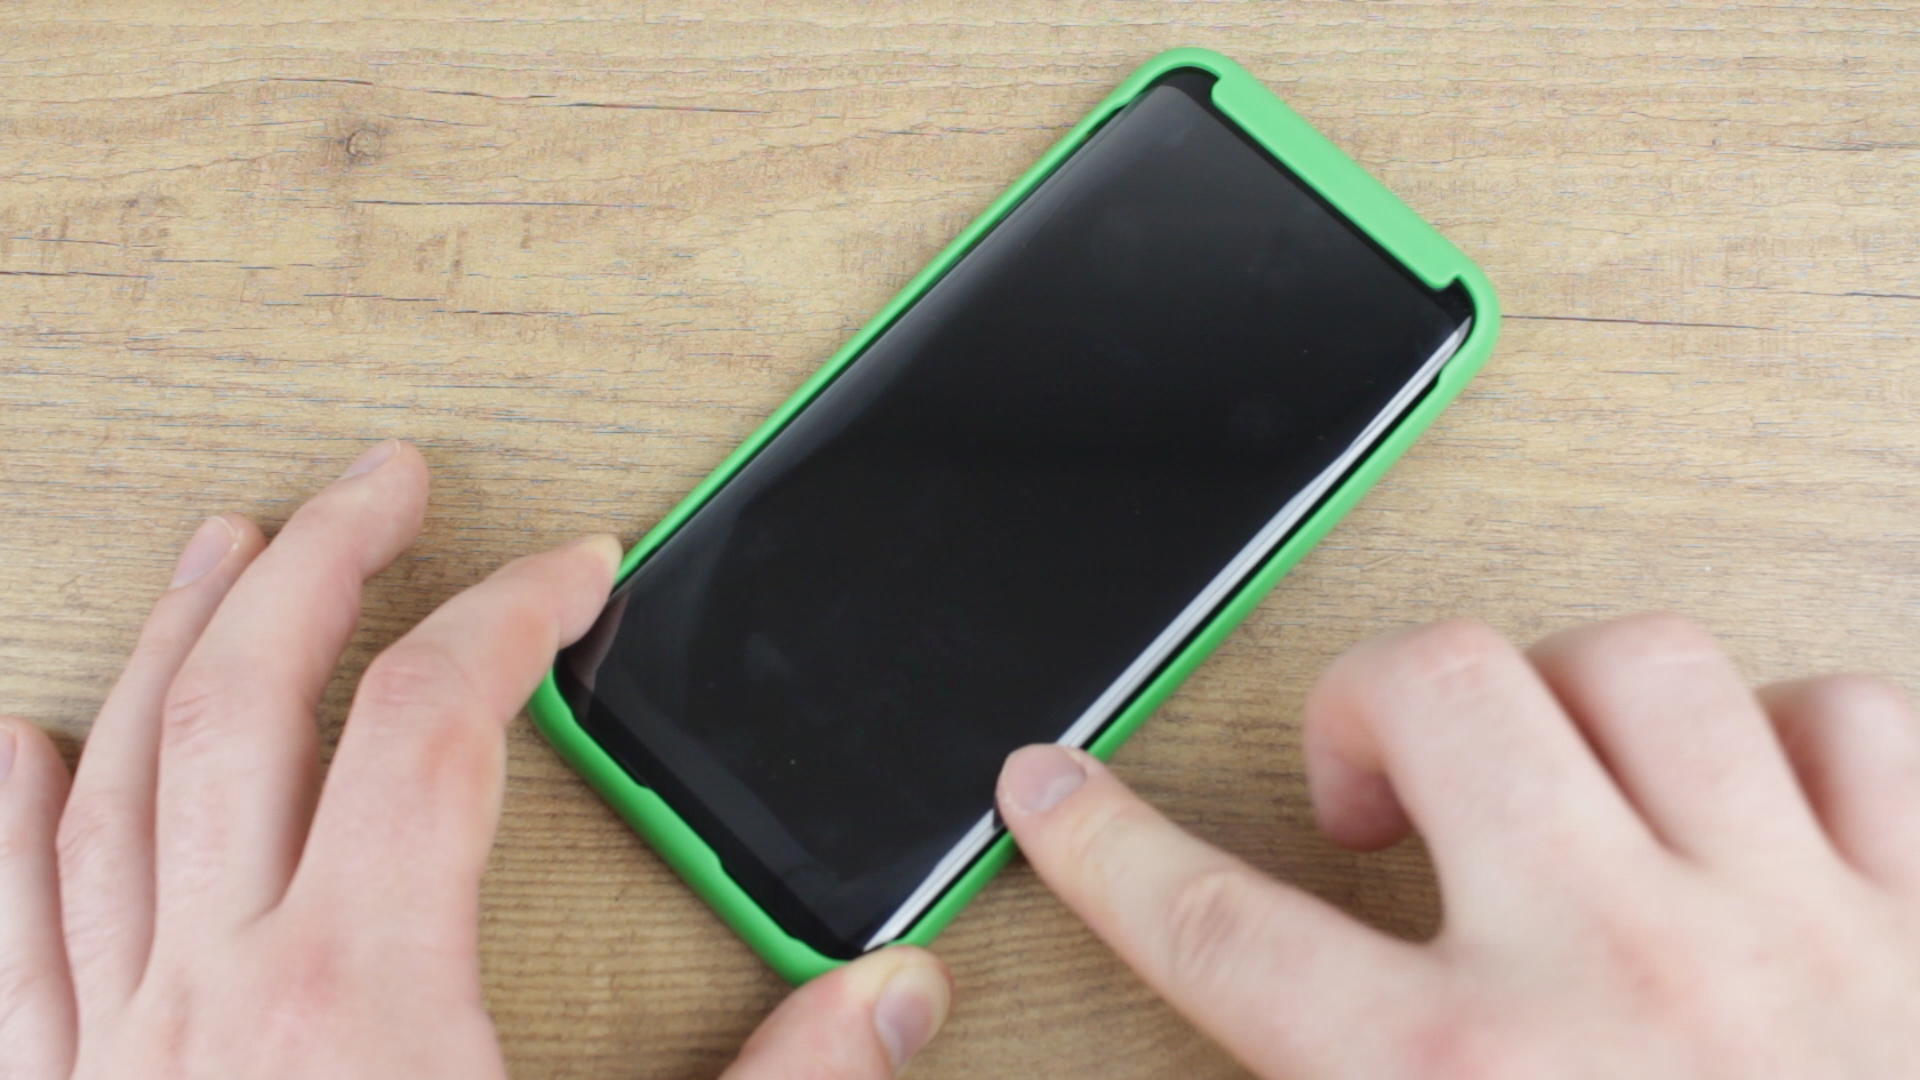
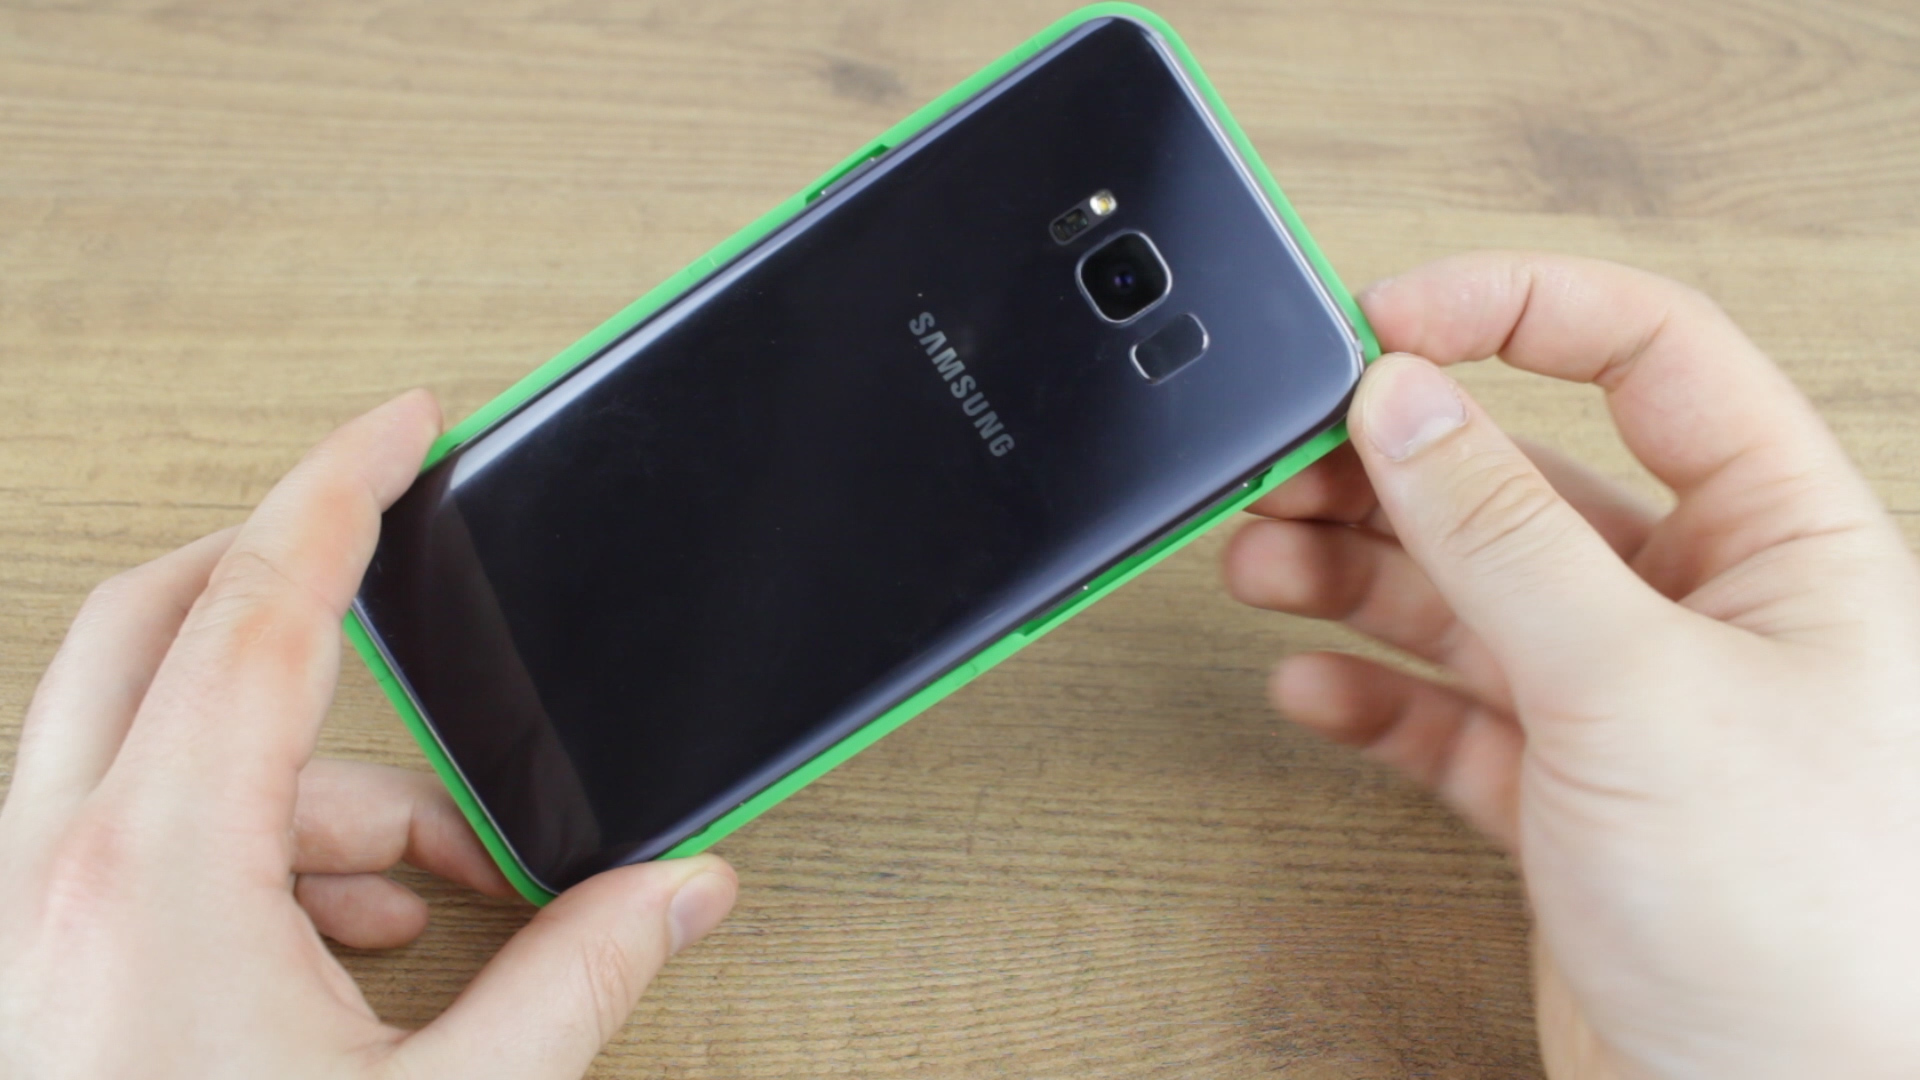
2. Check your current case is compatible before you start if you have one
Not applicable if you plan on using your phone with solely a screen protector to protect it, but a good idea if you have a case already and want to test its compatibility. You can do this by placing your phone flat within the case and resting the screen protector (with the protective film still attached) on top of your screen. While this isn’t installed in any way shape or form. It will give you an idea as to whether your case will cause any issues to the protector. If it fits nicely with some small wiggle room then you’ll be good to go.
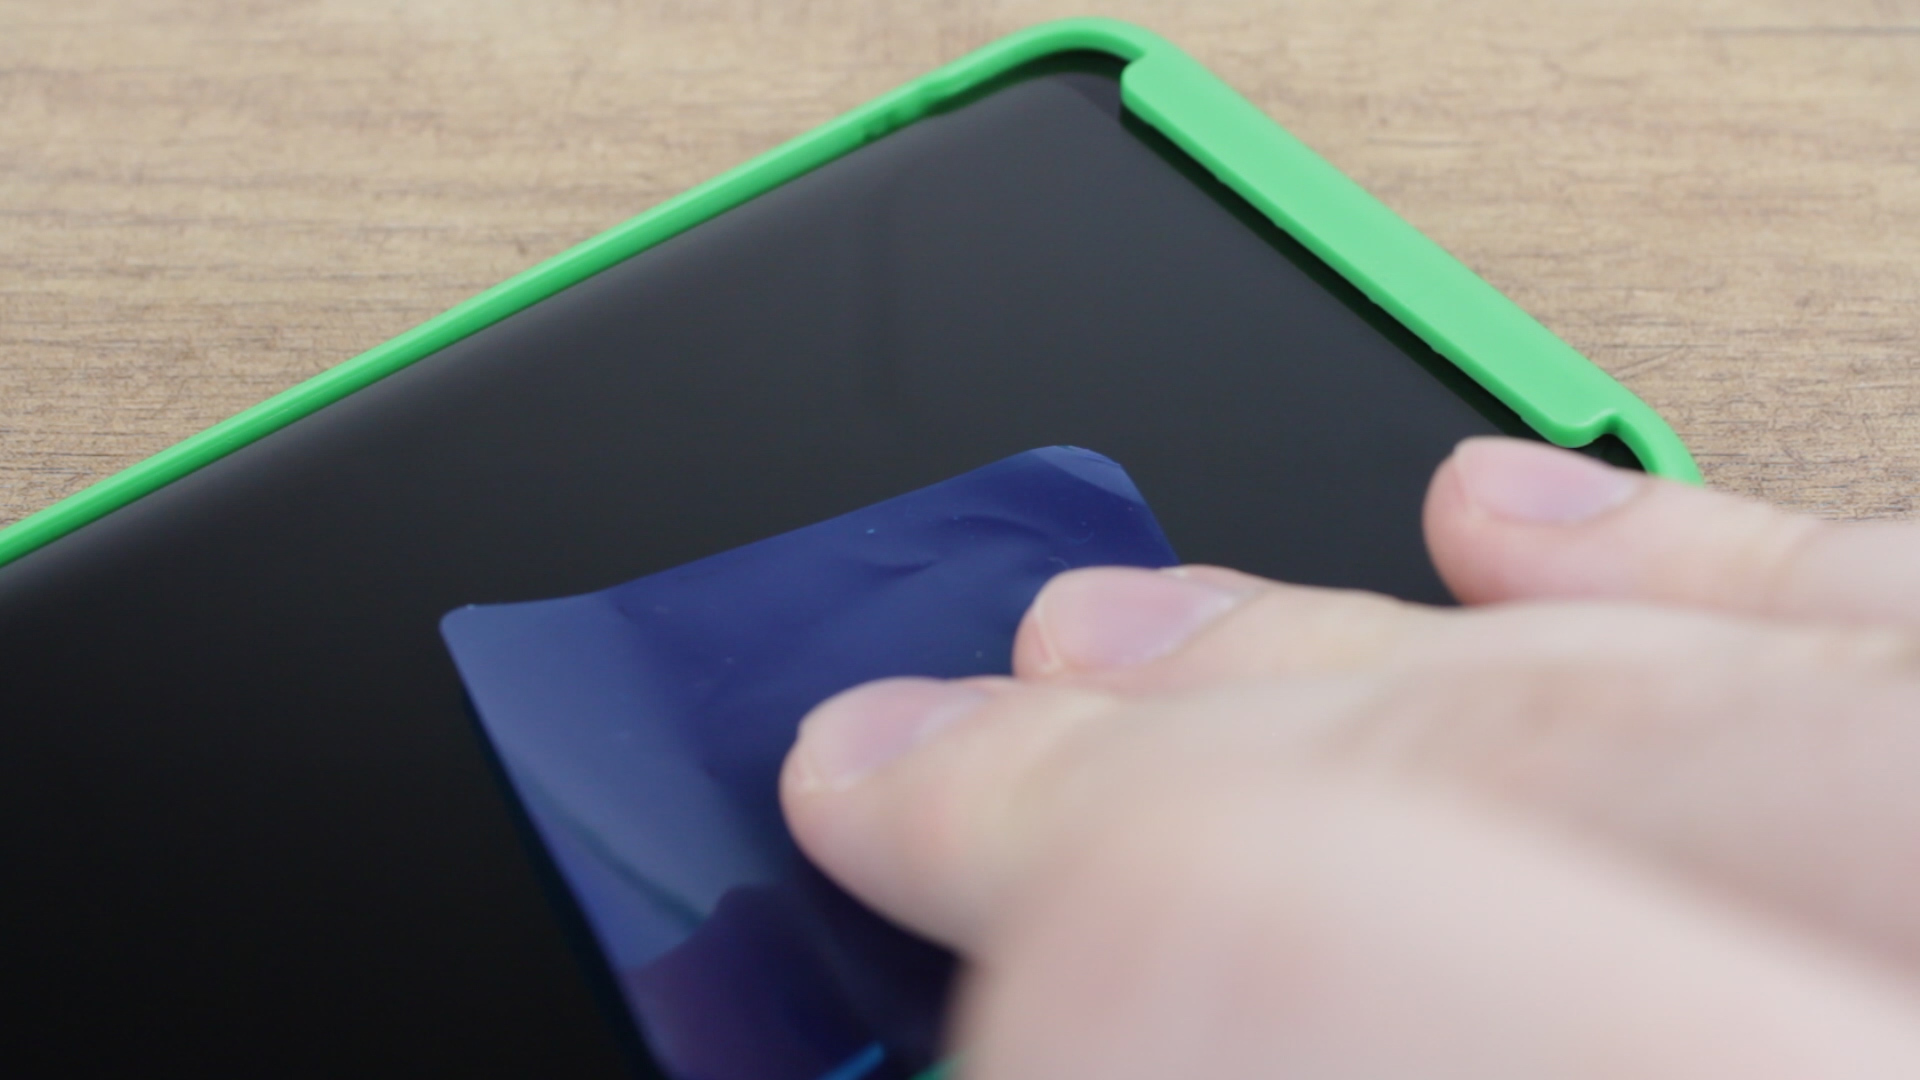
3. Clean your screen with the provided cleaning wipe
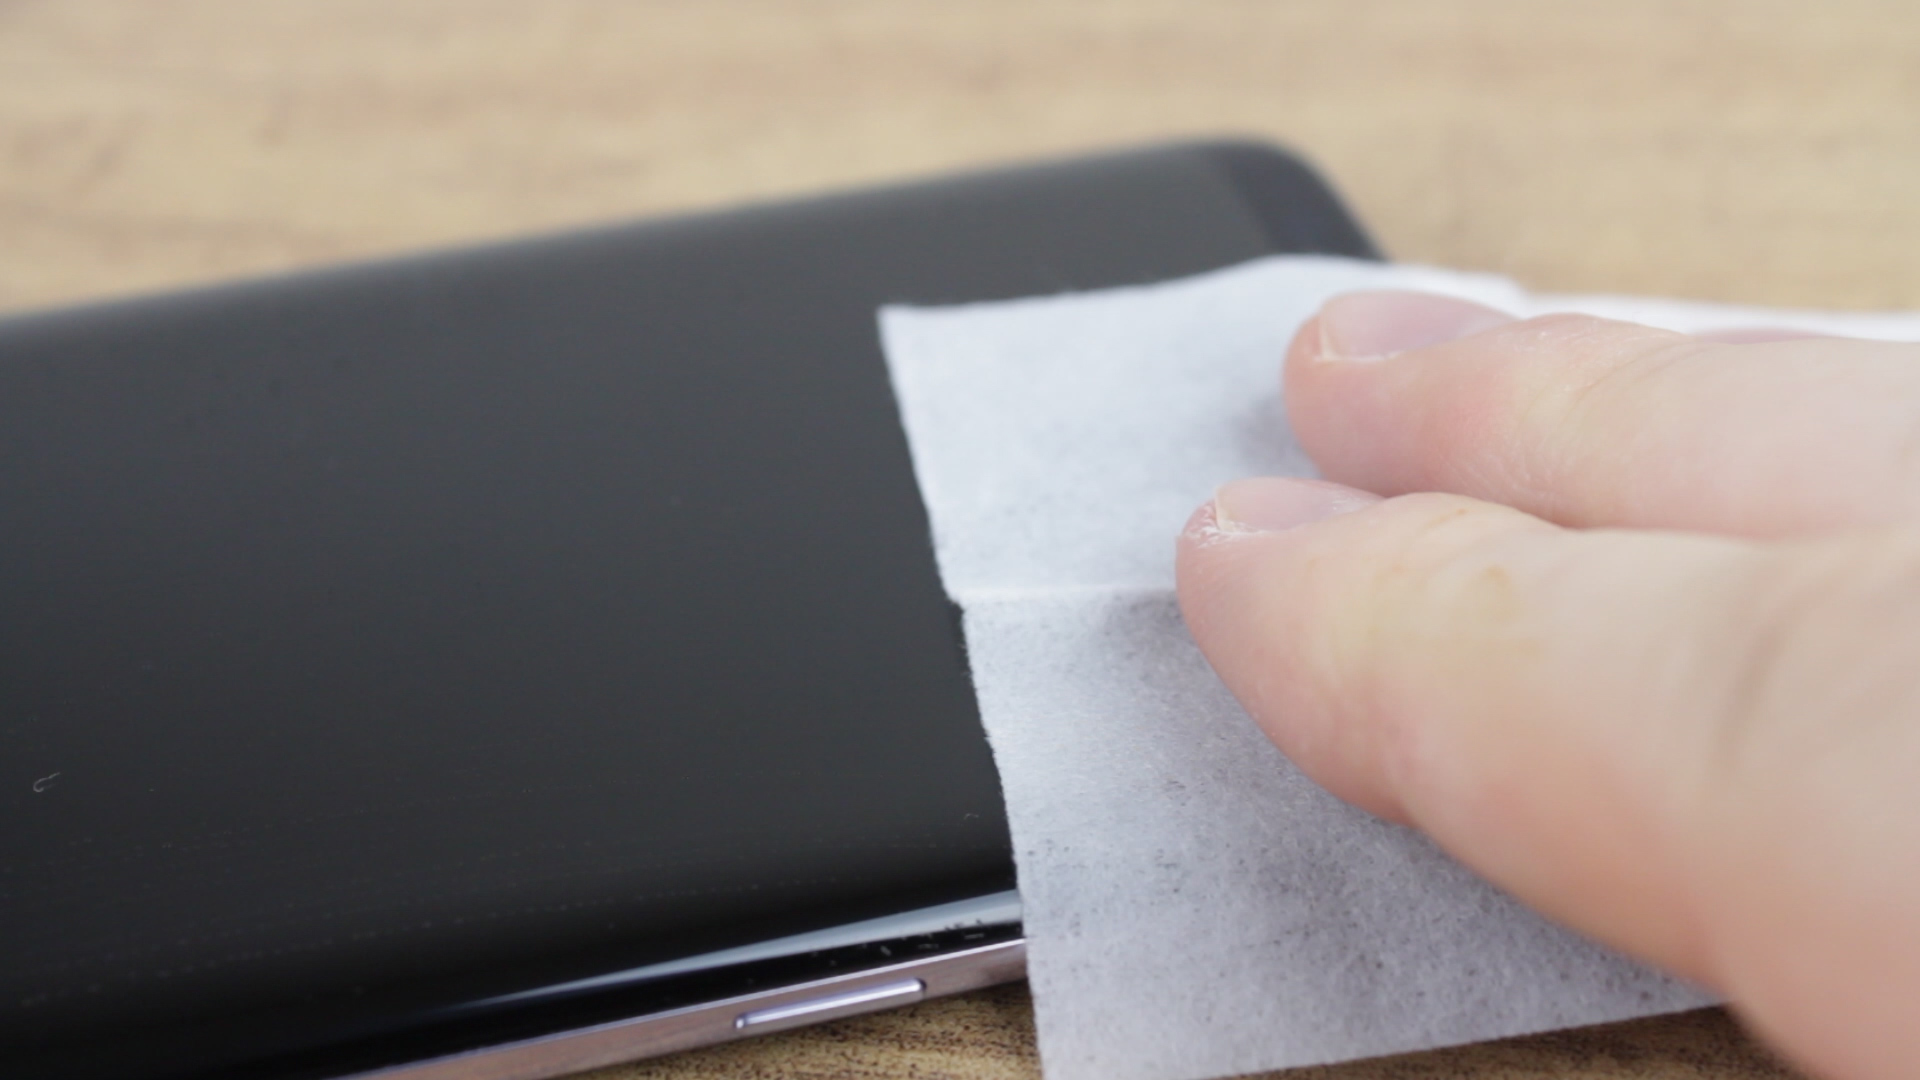
First things first, you’re going to need a thoroughly cleaned screen before you can start applying the protector. This is extremely important as the cleaner the screen, the better the final application will be. By simply wiping over your phone’s screen you can get rid of the majority of fingerprints and dirt, leaving you ready for the next step.
4. Dry and clean with the MicroFibre cloth
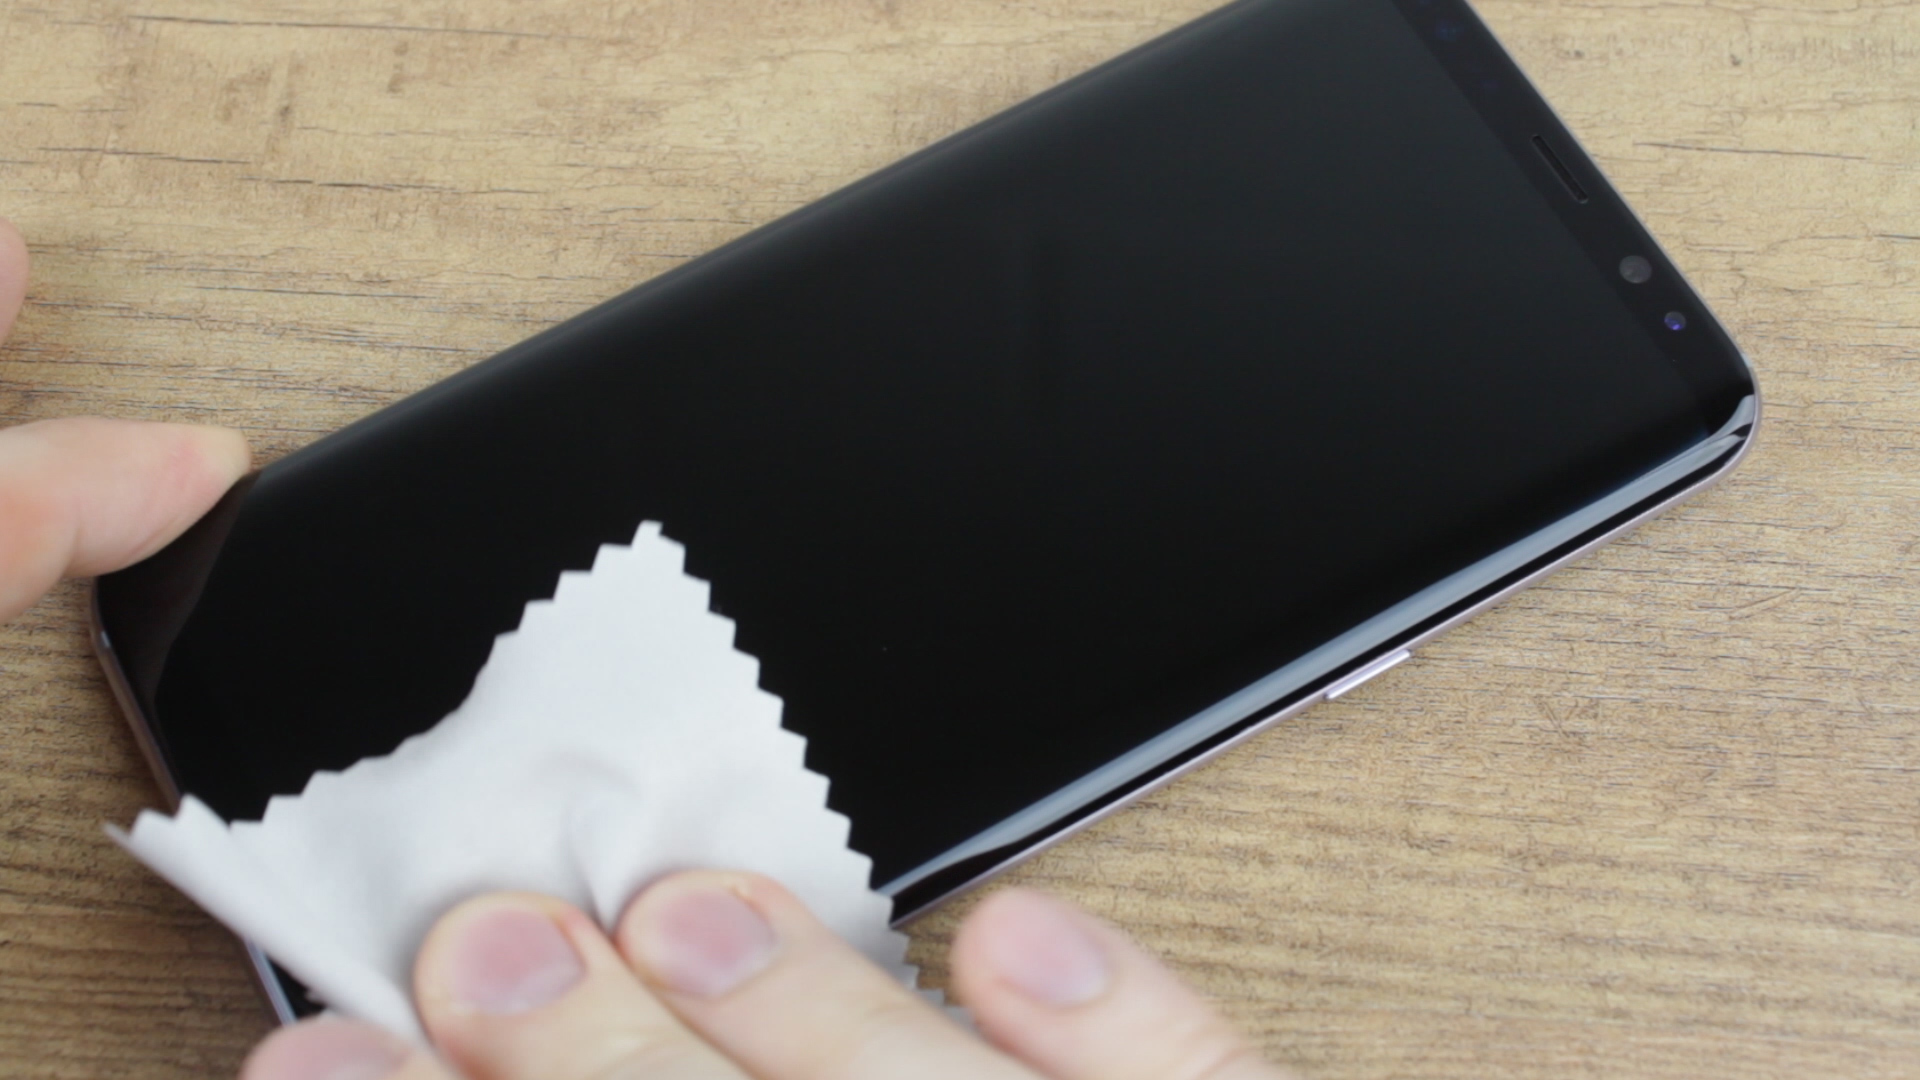
With the first cleaning step out of the way, you’ll now need to dry your phone’s display with the MicroFibre cloth. This process will also lift any remaining dust and dirt too.
5. Apply the installation guide-frame over your phone
The next step is to take the installation guide and snap it over-top of your phone’s display. This will be needed shortly as it ensures the correct alignment of the screen protector.
Please Note: You’ll want to make sure the larger (thicker) section of the guide is located at the top of your device, as if installed the other way, you’ll end up applying the screen protector upside-down.
6. Use the dust removal sticker to remove any final pieces of dust
By placing the alignment guide on to your phone, you may well have accidentally dropped some unwanted dust on to your screen. This is why the final cleaning act should be to use the dust removal sticker as seen in the picture above to collect these particles, without you having to touch your phone or remove the guide.
7. Peel away the protective tab from the protector
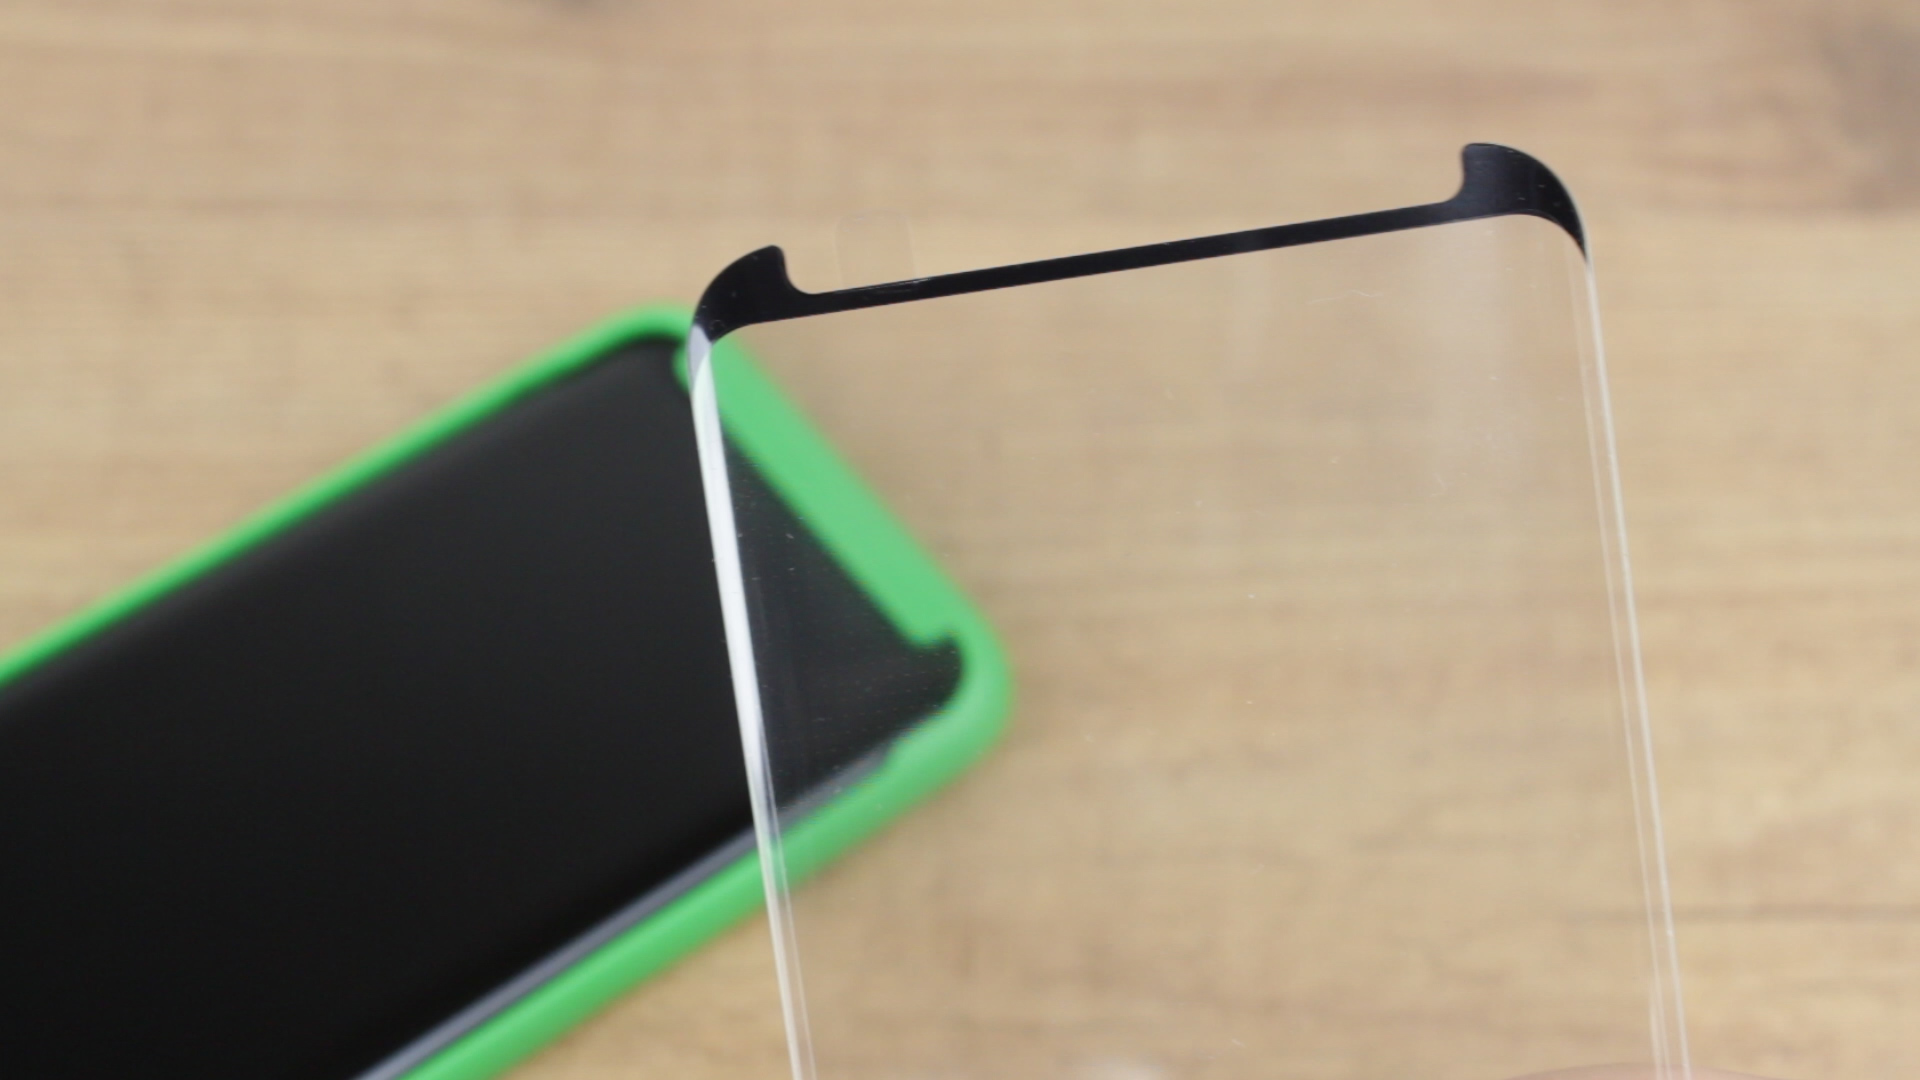
With your phone ready for application, you can now turn your attention to the screen protector itself. By peeling away the tab at the top of the protector you’ll be left with a protector ready to be installed. Be careful not to touch the recently uncovered side of the protector, as any fingerprints or dirt here could cause unsightly marks when applied.
8. Carefully lower the protector into the guide
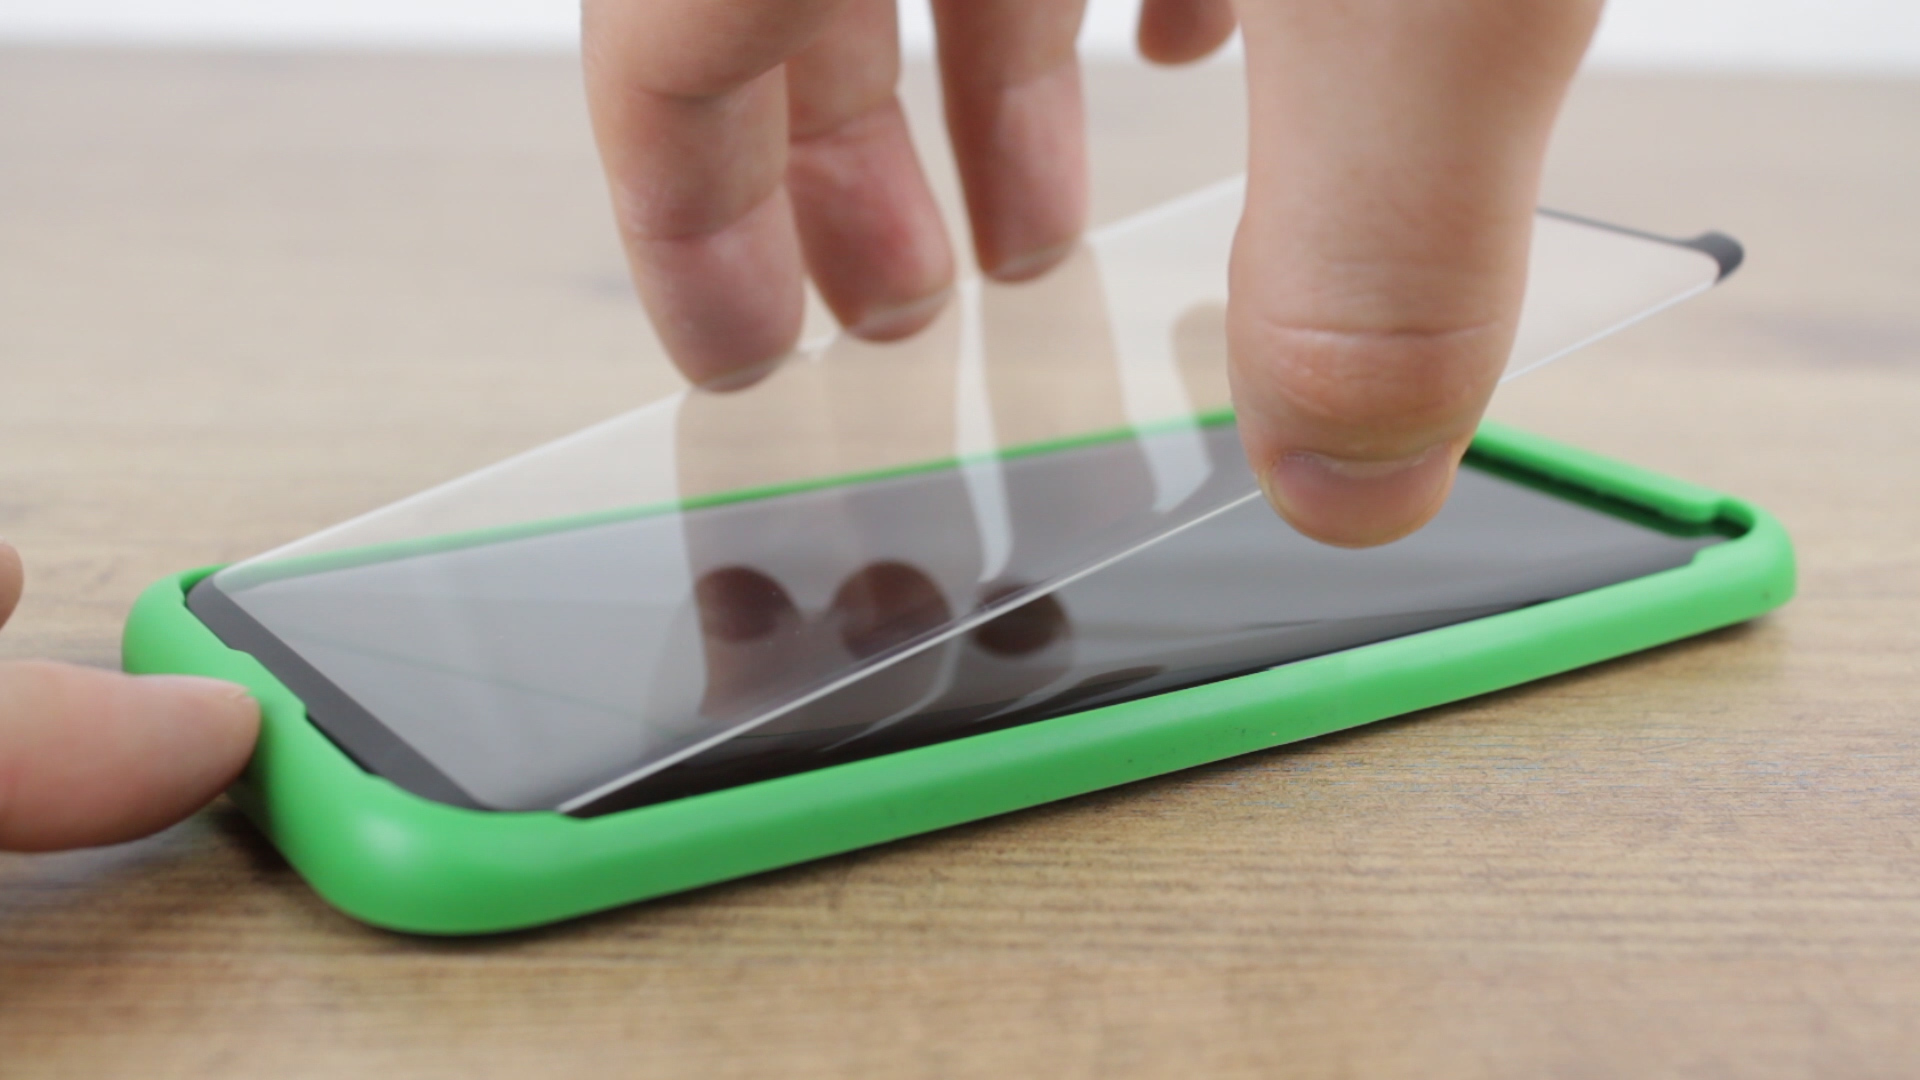
With the protective layer removed and the guide installed on your phone, you’ll now be ready to install the protector. Simply lower the protector into the gap created by the guide, starting with the bottom end first and then the top section in straight after.
This will allow the protector to fall correctly into place and be ready for you to securely attach it to your phone by rubbing your thumbs around the top, bottom and sides of the protector.
9. Time to take the installation guide away
Now that you’ve installed the protector and provided a firm press around all of its edges, you’ll now need to carefully remove the guide itself. You’ll want to remove this without causing any issues for the screen protector, which is why we advise you to pick up your phone in the guide and push the phone out from the guide. This will allow the guide to slip off extremely easily, rather than trying to lift it up when the phone is lying flat on a table.
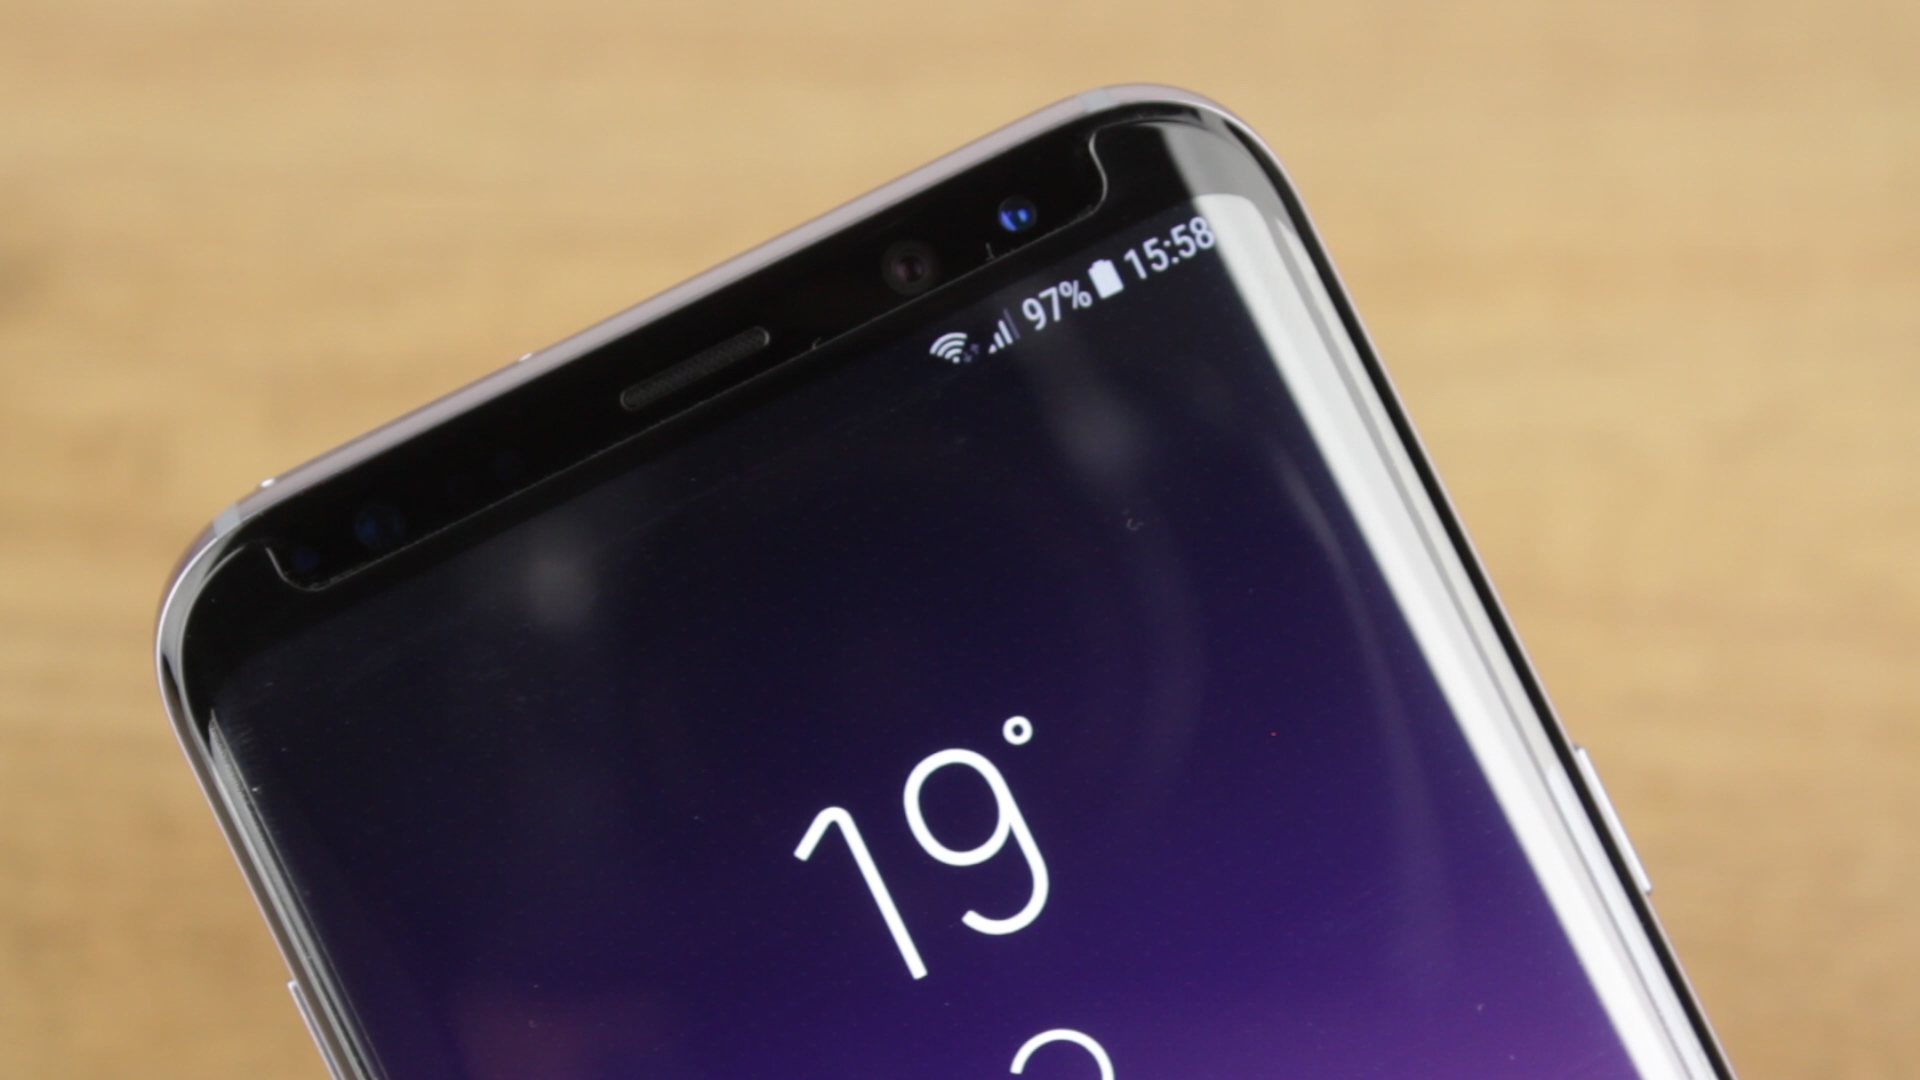
10. Enjoy your newly applied screen protector
After removing the installation guide, you’ll now be left with a perfectly applied case compatible screen protector. We do advise giving it another firm press around the edges now that it’s out of the guide, as this will ensure a perfect bond. With that said and done, you’ll be ready to case up and enjoy your newly protected display.
Wrapping up
Thanks for checking out our article on how to correctly apply an Olixar EasyFit Case Compatible Glass Screen Protector. If you have any questions, then feel free to ask below and if you’re interested in purchasing one of these protectors then please see our selection here.