BlueStacks is one of the few ways to run Android apps on Mac OS X. (Other alternatives which we’ve covered earlier include running Android in a VM or running Android apps in Chrome using the ARC Welder.)
1. Install Bluestacks
The first step, fairly obviously, is to install Bluestacks. If you visit the Bluestacks site as of April 2015, you’ll see a message that they’re currently working on their OS X client, and you can sign up to be alerted when it’s finished. However, they did release an OS X client in the past, and this can be downloaded here or here. For the purposes of this guide, we’ll go with the old version (and we’ll update it when the new version is available!)
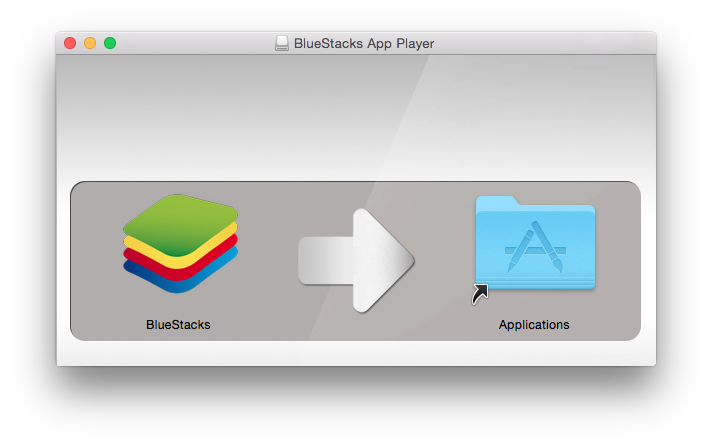
Simply download and open the .dmg, then drag the app to your Applications directory as normal. Start Bluestacks and move onto step 2!
2. Setting up Bluestacks
Once Bluestacks has loaded, you’ll be presented with a three-tiered screen offering My Apps, Top Charts and 1-Click Sync. My Apps shows you all the apps you currently have installed, top charts offers some popular app suggestions, and 1-Click Sync lets you transfer apps from your Android device to Bluestacks.
There are a number of icons at the bottom of the screen. The left-facing arrow in the bottom left is a back button; right next to it is a menu button. The Bluestacks icon in the middle is essentially the home key.
The default launcher is a bit rubbish, so let’s work on replacing it with something better.
There are some basic app stores installed by default, but the Google Play Store is probably the best option. To actually launch it requires some finesse – you’ll need to open Twitter (or another app that lets you post links) and write play.google.com/store. Click on the link once posted, and you’ll be asked what app you’d like to use to open it. Say the Play Store (or potentially its predecessor, Android Market) and this will launch.
Now to make sure we never have to do that again – we’re going to install a proper launcher. Most of the modern favourites aren’t available (like Nova or Apex), but Adw.launcher and a few other alternatives are. Install the launcher and go through any initial setup steps. I’d recommend placing shortcuts to the Play Store and any other common apps on the home screen.
Then, press the Bluestacks home button at the bottom centre of the screen. You’ll be asked which launcher you’d like to use by default. Tick the box that says Use this by default and select the launcher you installed. Now you’ll have the benefit of a proper launcher, which you can easily return to by pressing that home button again.
3. Install some apps
From here, you can use the Google Play store or the Amazon App store to find your apps and install them. It looks like the Mac version of Bluestacks is based on quite an old version of Android, so you may notice that some apps are unavailable. Still, I was able to play some modern favourites like Candy Crush Saga at full speed, so try your luck and see what works.
Questions? Comments?
I hope this guide helped you out. To ask questions or leave a comment, please write to us below or talk to us on Twitter @mobilefun!


One thought on “Run Android apps on Mac OS X with Bluestacks”
Comments are closed.