
Last year’s Galaxy Note 5 dropped the Micro SD card slot, but it makes a happy return in the Note 7! That makes it one of the easiest ways to increase your storage capacity, giving you way more space for photos, videos, music and apps.
Here’s how to choose a good card, then how to make the most of it — by moving apps there or even enabling the new adoptable storage feature from Android 6.0 Marshmallow. Let’s get started.
1. How to choose the best Micro SD card
We recommend taking a 64GB Micro SD card or higher, as this will more than double your available storage space. As well as capacity, each card has a speed rating that lets you know how quickly it operates. For a high performance phone like the Note 7, you really want a card that has a rating of Class 10 or UHS-1, at least. This will minimise the time you spend copying media and apps.
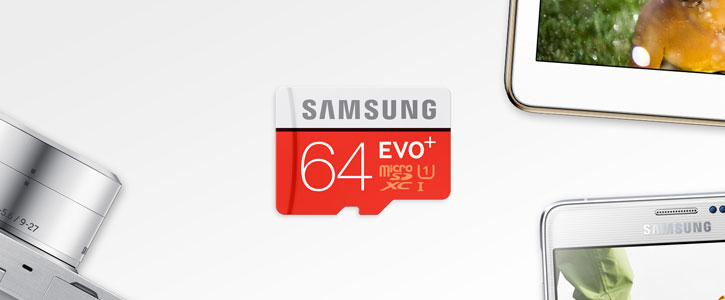
Samsung’s own brand of EVO Plus Micro SD cards are our current favourite, and they’re available in 32GB, 64GB and 128GB varieties. The reason we like them so much is that they’re really quick — you can read the card at 80 MB/s and write at 20 MB/s, thanks to the UHS-1 rating. That makes transferring your media onto the cards a quick process, and videos and apps will load quickly from the card too. The Samsung Evo Plus cards are also waterproof and come with a 10 year limited warranty.
Of course, there are plenty of (cheaper) alternatives as well, from trusted brands like SanDisk and Lexar. Take a look at the full range below:
To install your Micro SD card, use the SIM tool that comes in the box (or a paperclip) to eject the Micro SD card tray at the top edge of the Note 7. Insert the card into the top slot (it’ll only fit one way), and replace it in the phone.
2. How to move apps to the Micro SD card

Once your Micro SD card is inserted, you can use it for more than just music and videos — you can also run your apps and games from there. Here’s how to do it:
- Open Settings > Apps
- Press the app you want to move
- Press the Change button near the top of the screen
- Select SD card in the window that appears
- Click Move
You’ll be notified that the app won’t be available when the Micro SD card isn’t inserted (fair enough), and the app will be copied to the card. This can take a few seconds, particularly for large apps or games, but it can be made faster by choosing a good Micro SD card to begin with (like the Samsung EVO Plus we recommended earlier).
3. How to enable adoptable storage on the Note 7
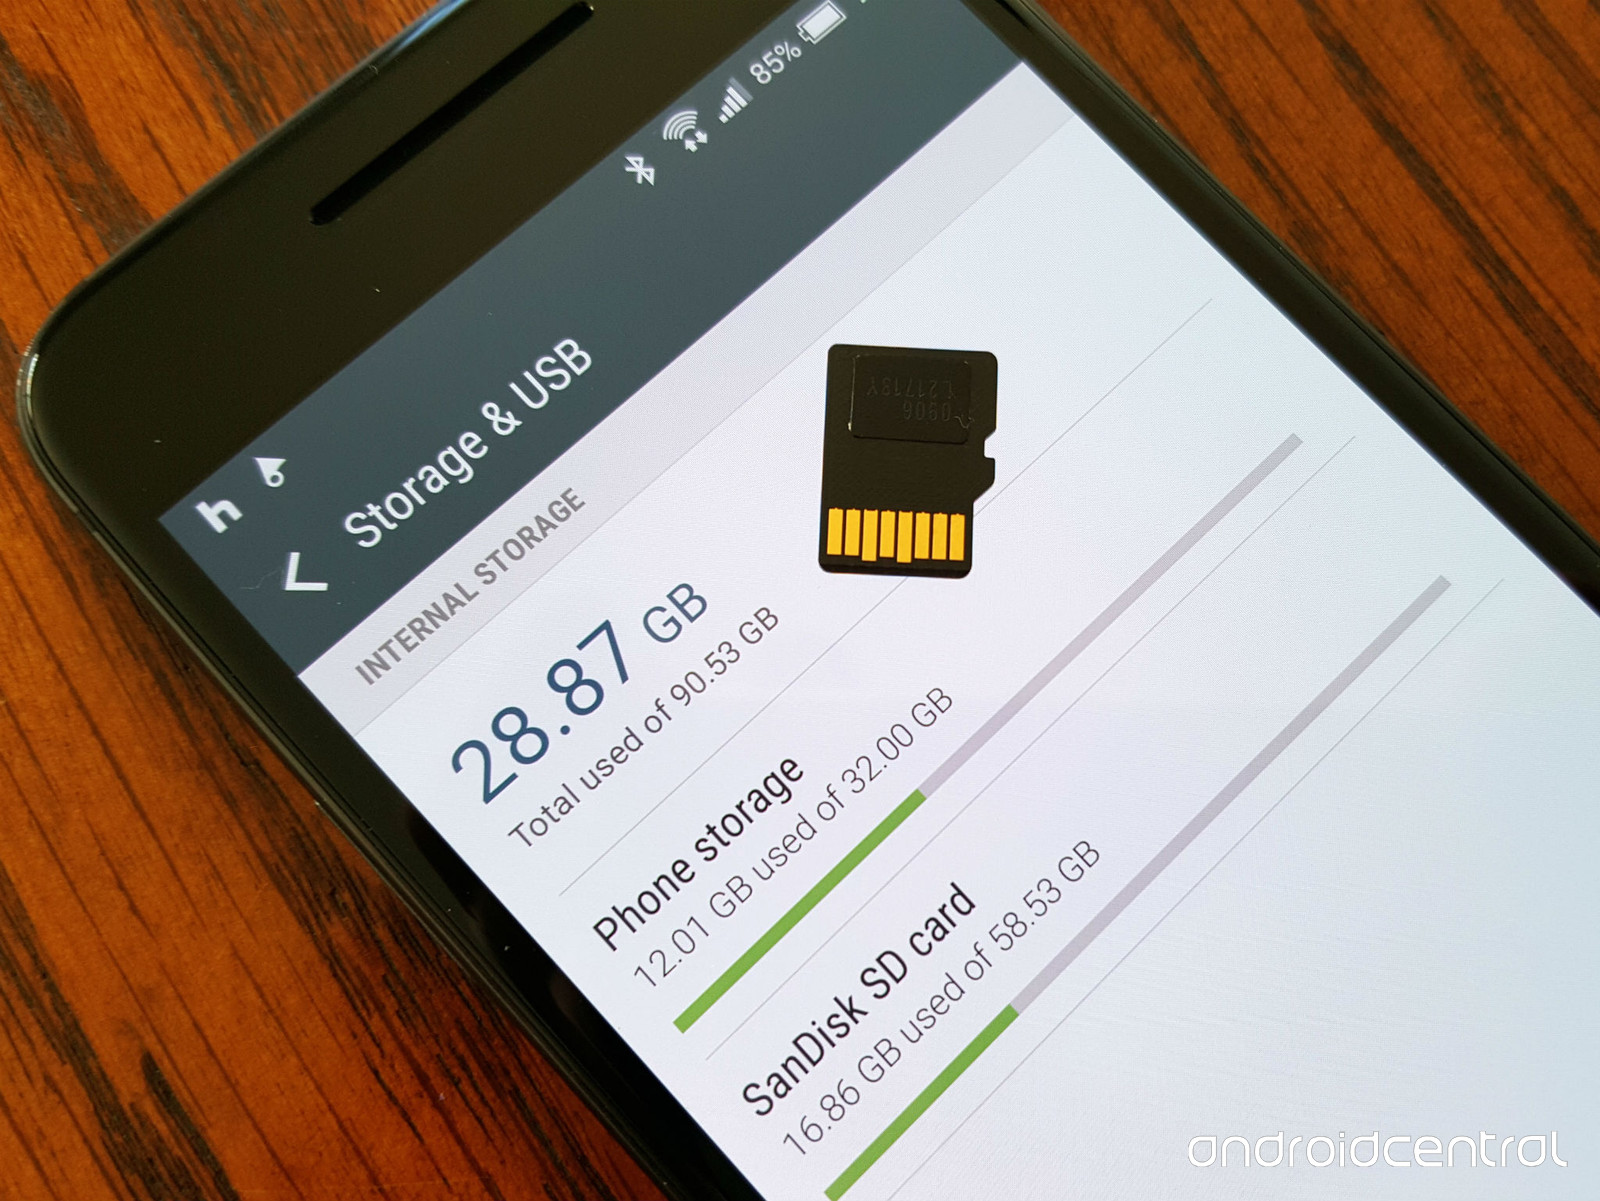
The Note 7 comes with Android 6.0.1 Marshmallow, but it doesn’t support the new adoptable storage feature out of the box. This helpful mode combines your Micro SD card and your internal storage into a single massive space, so you don’t have to worry about manually transferring apps or media — it’s all just in one place.
Just remember that you won’t be able to take out your Micro SD card or use it in other devices after you’ve adopted it, without wiping your phone and/or card. You’ll also need a UHS-1 or faster card to ensure that your phone doesn’t slow down too much afterwards. It’s not for everyone, but if you’re chronically running out of space it could be a good option. Here’s how to do it:
1. First, back up your Micro SD card’s data to your PC – it will be lost in the process. Then, enable Developer Settings on your Note 7 by tapping five times on Settings > About > Build number. Next, enable USB Debugging in the Developer Settings menu you just unlocked and connect your phone to your PC. You’ll need to allow the connection on your phone.
2. Now, download and install the ADB drivers and the ADB / Fastboot tools. Once installed, open the Command Prompt on your PC and type the following:
adb shell
sm list-disks
Note the disk’s number — ours was disk:179:160 — and use it in the next command. If you want to completely use the SD card for adoptable storage, use the first command (private). If you want to leave some space on the SD card, run the second command (mixed). If you’re not sure, just use the first one. DO NOT RUN BOTH COMMANDS.
sm partition disk:179:160 private
sm partition disk:179:160 mixed 50
Wait patiently until the process is complete. Once it’s done, everything should now work automatically. Settings > Additional Settings > Storage may report incorrect total space figures, so it’s better to use FreeSpace to check.
For more details, check out Modaco‘s comprehensive guide. It may seem complicated initially, but once you have ADB drivers and the ADB app itself installed, it should only take a few seconds to start the process.
Wrapping up
Thanks for checking out our guide to using Micro SD cards with the Galaxy Note 7! Let us know how you get on, and if you have any problems or questions please leave a comment.
Thanks so much for providing feedback Christian! I was really hoping for this to work. Being a mobile gamer, I’ve already begun to run out of internal space on my Note 7 due to the large data folders of today’s popular HD games.
Hopefully someone will get this to work, and without problems/issues afterwards. Maybe it will all be figured out by the time I exchange my device due to the recent recall of all Note 7’s and their faulty exploding batteries!! The hack would have to be done only after receiving your permanent phone anyway for the adoptable SDcard to continue to work.
This hack doesn’t work. I’ve tried it several times with my s7 Edge and when you update apps they are automatically written to internal storage. whenever I tried it I received the “not enough space” message.