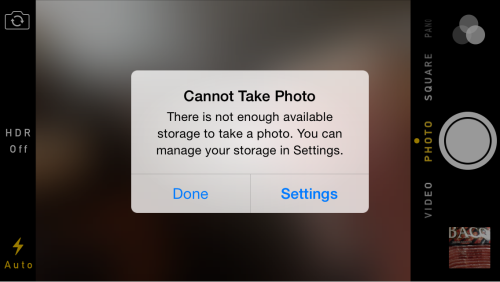
It’s perhaps the most annoying error message on the iPhone: “There is not enough available storage to take a photo. You can manage your storage in Settings.”
You could frantically delete the last few photos you’ve taken, but you’re only going to run into the problem again later. Instead, let’s solve it for good, using the Leef iBridge — the fastest, easiest way to backup your photos to a PC, freeing up space on your phone for more photos!
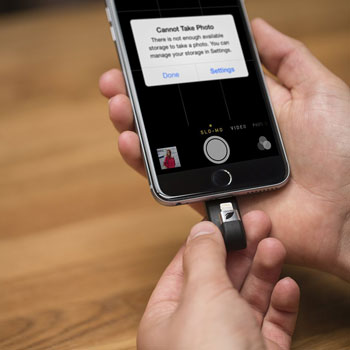
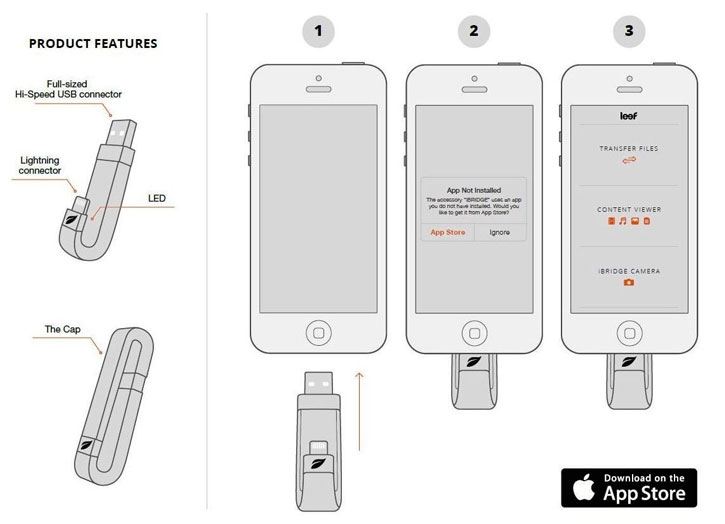
The iBridge works quite simply — just plug in the iBridge into your Lightning port, and you’ll be prompted to download the free iBridge app from the App Store. Download and start it, and you’ll see three different options: Transfer Files, Content Viewer and iBridge Camera. Select the first option for now, Transfer Files.
From here, we want to move iPhone photos to the iBridge, so select the first option. Select the photos that you want to back up to the iBridge (or just hit ‘select all’ at the bottom), and hit the transfer button at the bottom of the app. You’ll be asked to move or copy; to free up space you’ll want to hit move.
Let it run, and when it’s done you’ll have much more space on your iPhone. Later, you can connect the iBridge to your Mac or PC, and copy the files off for safekeeping, or just view them later using the Content Viewer mode in the iBridge app.
The whole process takes about a minute, and it’s much safer than just mass-deleting some random photos every time you run into this error message. If you’re taking a lot of photos, you could even use the iBridge Camera mode to take photos directly to the iBridge, cutting out the intermediate step.
What do you think? Check out the Leef iBridge product page linked below, and write us a comment too if you like!