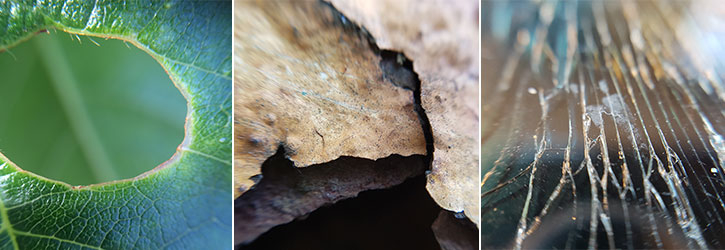
Macro photography simply means taking pictures at extremely close ranges, often of small subjects. These kinds of photos allow you to see details that you’d never pick up with the naked eye, revealing complexity and textures that normally go unnoticed.
Normally, smartphone cameras can only focus on something three or four inches away from the lens — what you’d probably call a closeup. Move any closer, and things start to get really blurry. To overcome this, you’ll need to use either use hardware (a lens), software (an app) or both. Let’s take a look at the options available.
Lenses
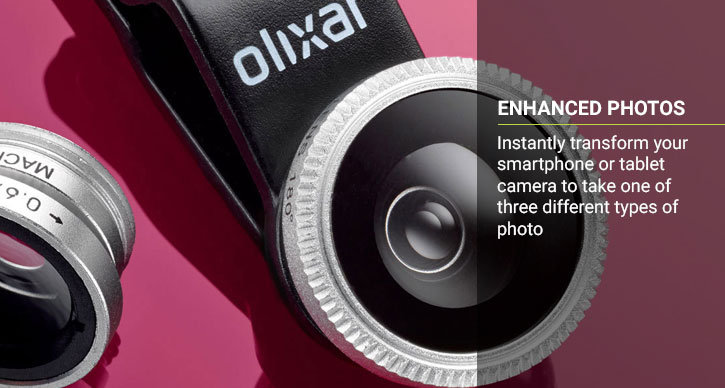
One of the easiest ways to take good macro photos is to get a clip-on lens, like Olixar’s 3-in-1 lens. Install the lens, and you’ll be able to immediately get a much more detailed shot than you would otherwise, shooting from a distance of about 1.5 centimetres with a 3x magnification.
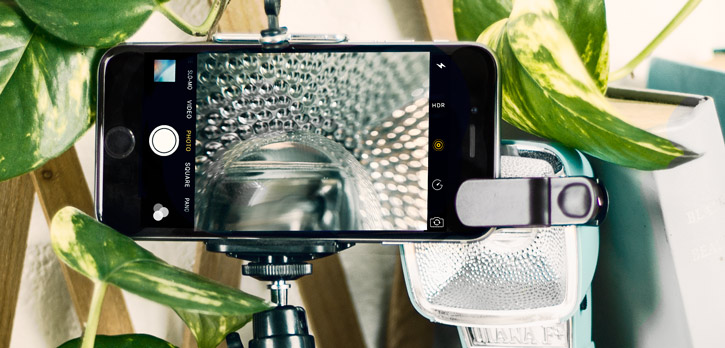
You may also find it helpful to get a stand to ensure a stable shooting platform, which can be found together with the lens in the Olixar Universal Smartphone Photography Kit.
Apps
Lenses will bring you most of the way to viable macro photography, but you’ll need a good app too to get the best results. Depending on your phone, your default camera app might be sufficient (e.g. Huawei P9, LG G5) or you might want a more advanced replacement (iPhone, Galaxy S7).
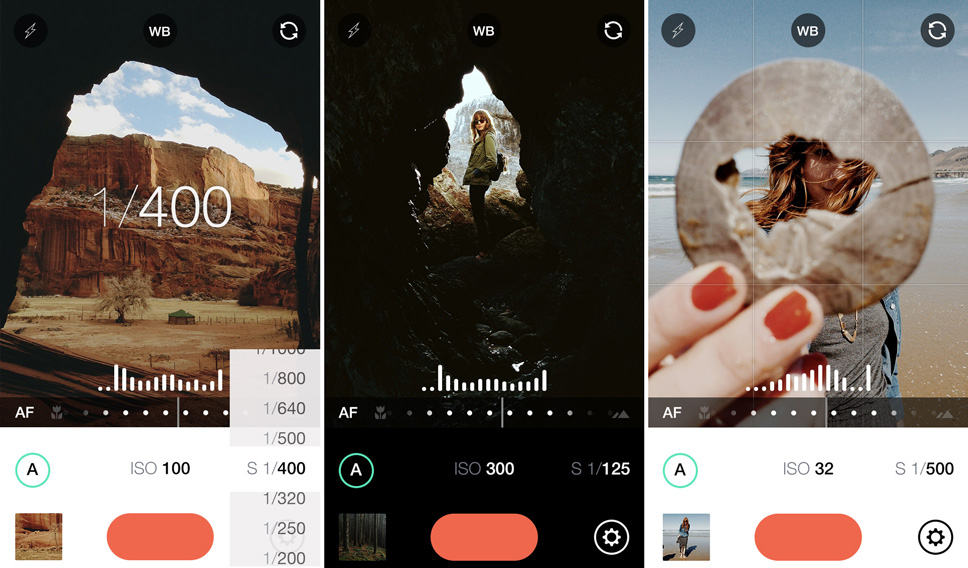
We like ProShot and Manual Camera on Android, and Manual on iPhone. All of these apps give you more control over different settings, allowing you to zero in on the perfect shot.
When you’re done shooting, your results should speak for themselves… but if you like, you can also throw them through Instagram or Prisma to give them a different look.
Wrapping up
So there we have it — the first steps to taking macro photos on your phone. Good luck with your quest, and be sure to share your successes in the comments below!