Amazon’s vocal assistant Alexa is the cornerstone of its recent releases, popping up in the Echo speaker, the Echo Dot and the Tap… but none of these devices have yet come to the UK. It’s also coming to the Triby, as we reported earlier, but that device hasn’t been updated with Alexa support yet. What’s a Brit to do? If you have some basic programming skills, then one answer could be just to build your own Alexa-powered speaker… and Amazon have revealed exactly how to do it.
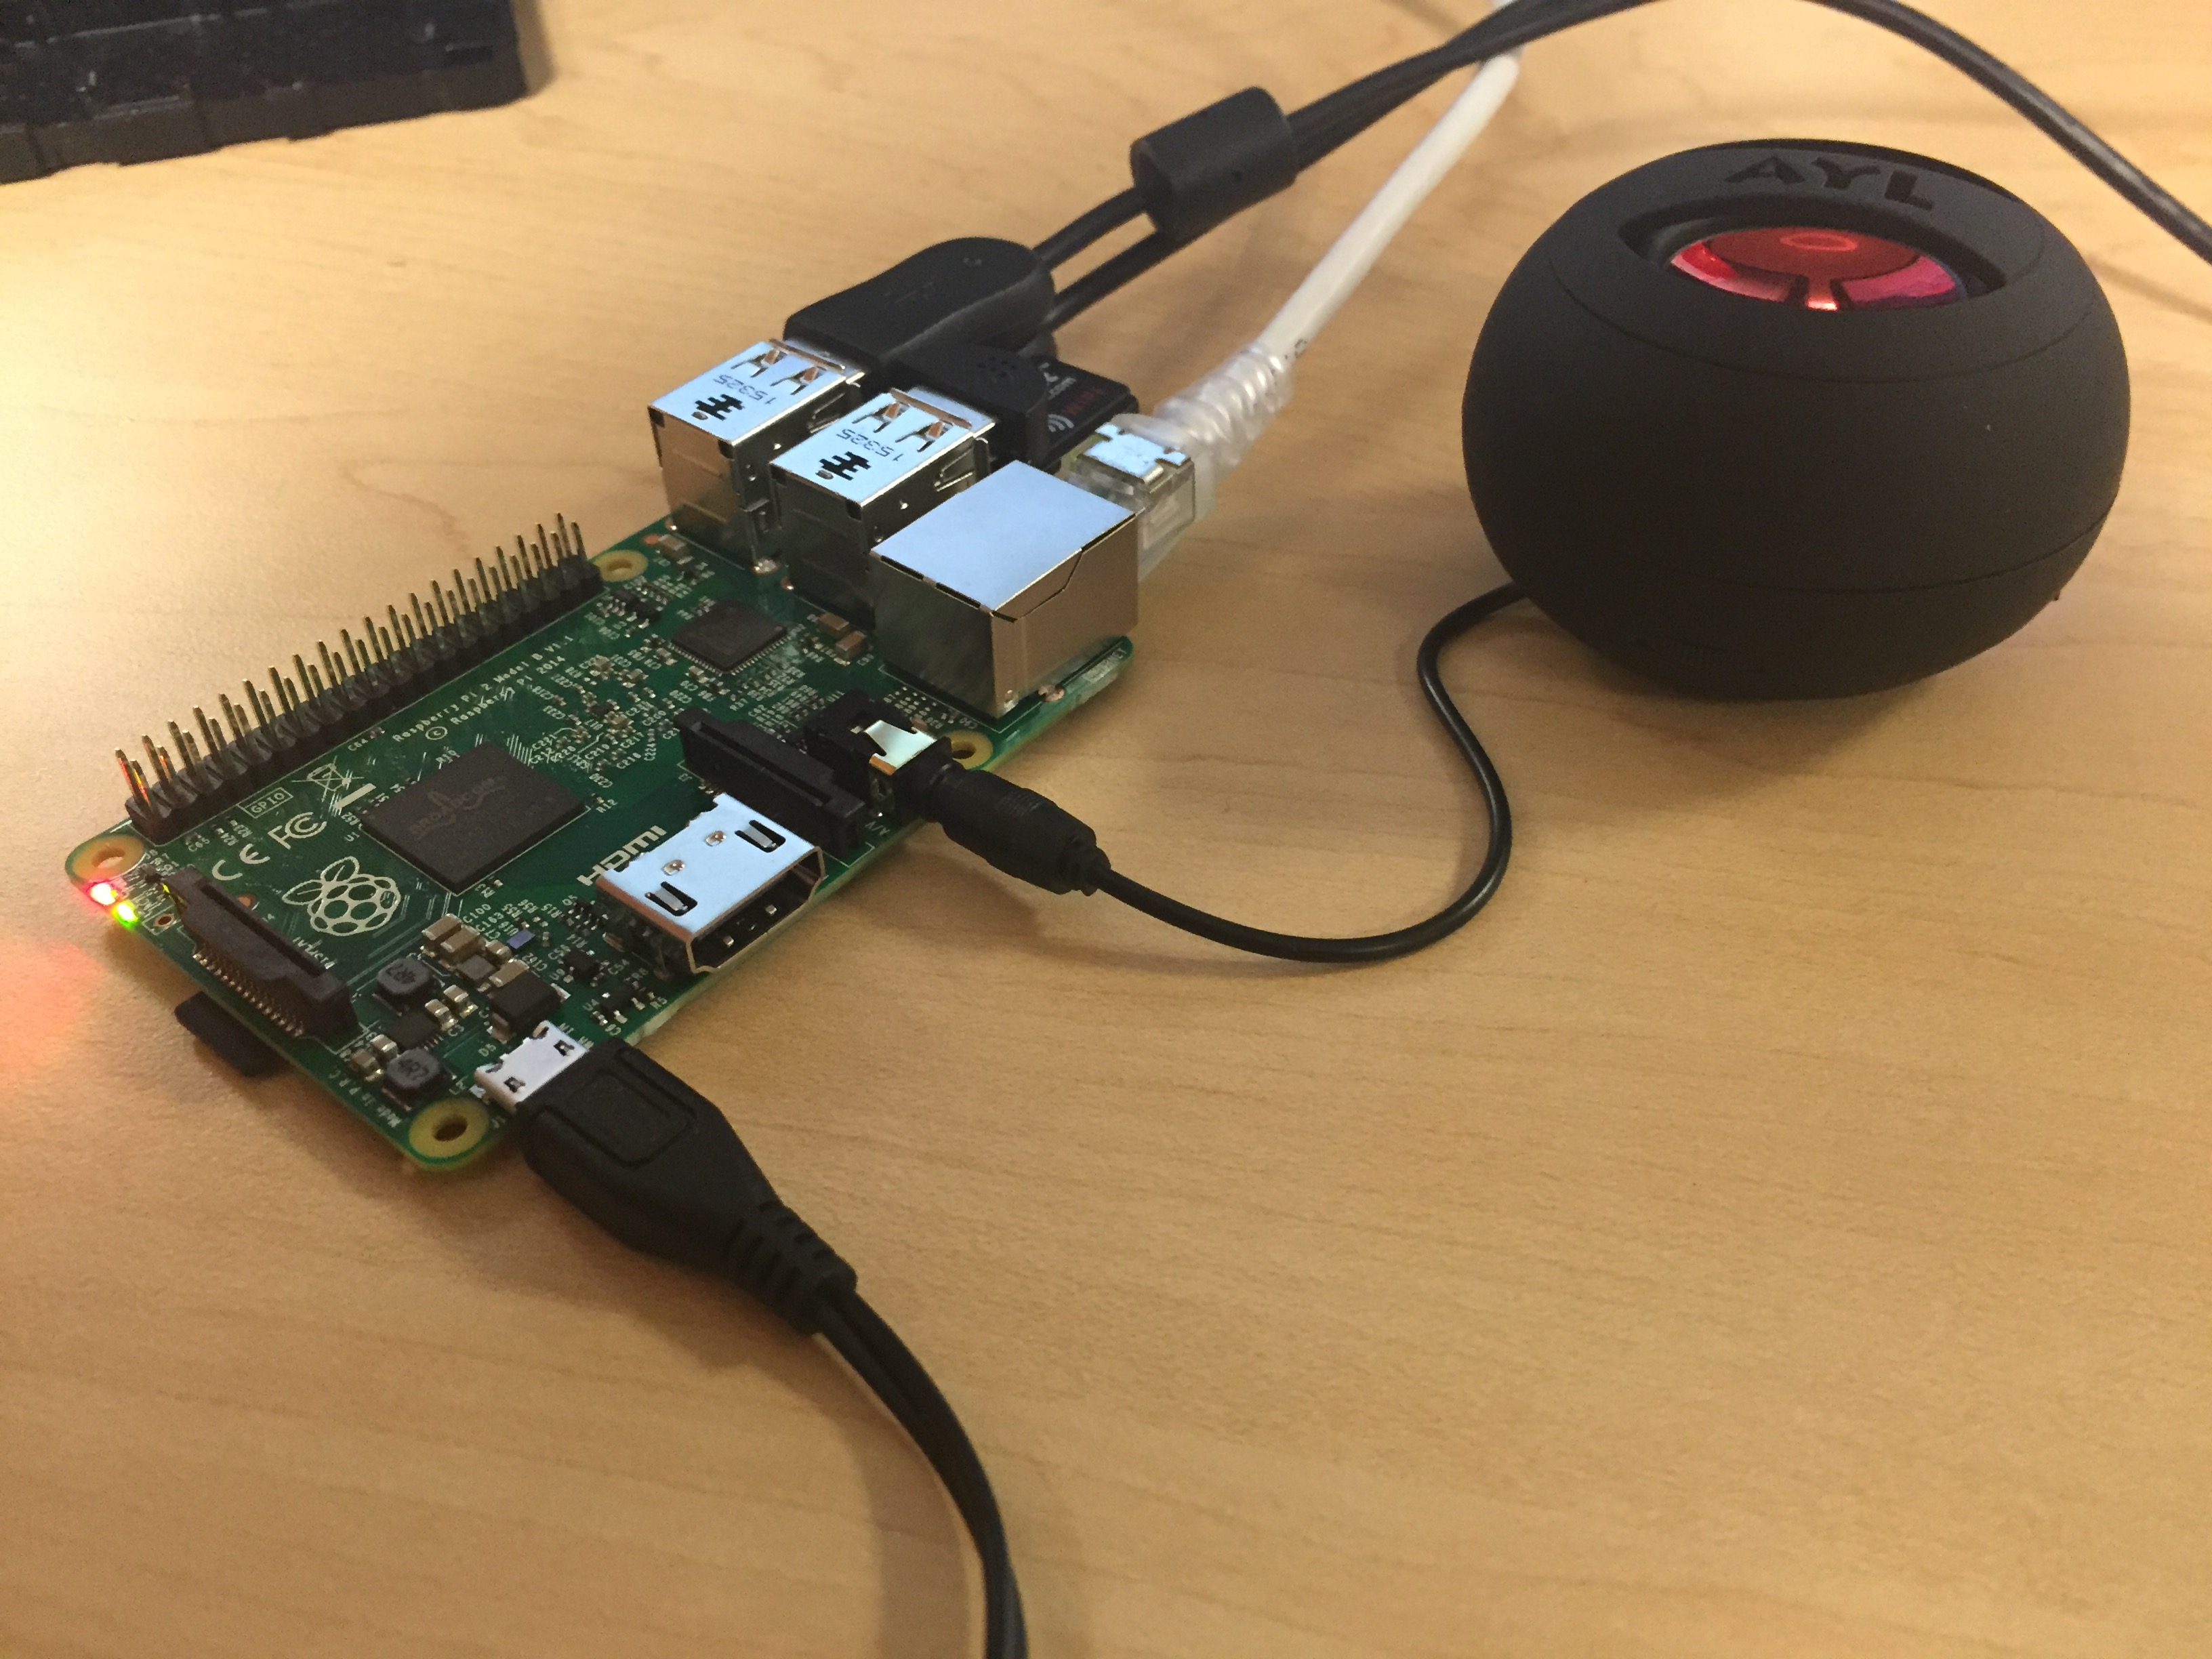
The heart of the system will be the cheap Raspberry Pi 2 or 3 (available for £30), plus a few components you’re likely to have lying around: a micro SD card to install an OS for the Pi, an ethernet cable, a USB microphone, a speaker… and some stuff to set up the Pi initially, including a USB keyboard and mouse, and an external HDMI monitor or TV. You can also pick up a USB wireless adapter, if you’d prefer to set up your Alexa-powered speaker somewhere that an ethernet cable won’t reach.
Once you’ve got your things together, getting things set up is pretty straightforward (if you have some prior experience running things in a shell and some basic programming knowledge). You can follow the instructions here, which are fairly long but simple to understand. You’ll install an OS on your Pi, allow remote access via SSH, install some programs, sign up for an Amazon Voice Services developer account, sign some certificates, and then you should be ready to go!
There are some restrictions with this compared to a normal Alexa device?—?you have to press a button every time you want Alexa to listen to you, which cuts into its utility… but overall, it’s a pretty convincing demo of how easy it is to add Alexa to a device.
Let us know if you try it yourself, and have fun with your Pi!