iPhone water damage!?
The Ultimate Guide to Bringing Your iPhone Back to Life
Day-to-day life is fraught with danger for the average iPhone. Nonchalant owners are dropping it in the bath, plunging it into puddles, tipping it into their tea… and the less said about what can happen in the toilet the better!
Really, what may seem like mundane everyday activities to you and I, are in fact a gauntlet of life threatening incidences for your iPhone. After all, if your iPhone sustains liquid damage and you don’t act quickly then it’s curtains to the little guy, he’s just another product code in the graveyard of disused tech.
So if the worst should happen, make sure you’re prepped and know how to deal with iPhone water damage to give your prized pal the best chances of recovery.
Tackling iPhone water damage 101

Okay so rule number one – and if you take only one thing away from this article let this be it – whatever you do, do not try to use your device. If you’ve dropped your iPhone into a watery pool of death, take it out of the water and turn it off. Then, using a magnifying glass, have a look to see if your iPhone’s Liquid Submersion Indicator (LSI) – this will be next to the SIM slot on the iPhone 5 or later – has turned red. If this is the case, then this a strong indicator that your iPhone has sustained liquid damage, so you should whip out the sim card and give it a rub with a towel or whatever you have to hand that will help dry it. Then give it a shake, not too rigorously, to remove as much water as possible.
Next there are a couple of tricks you can try to to help prevent fatal iPhone water damage and absorb excess water.
The silica method
You know those funny little bags of silica gel you find inside a pair of new shoes? Yes, well it’s always a good idea to keep hold of them, as they’re little pros at absorbing moisture. Just pop a bunch inside a plastic sandwich / ziplock bag (along with your wet iPhone) and store it away in a cupboard for a few days. You’ll need quite a few for it to be really effective, but after about three days you should be able to see if you’re iPhone is working again.
The rice method
If you don’t have any silica bags to hand, the uncooked rice trick is a handy alternative. Just raid the kitchen cupboards, pour your rice into a big bowl (minus water) and submerge your iPhone. Then after 24 hours has passed try turning your iPhone on. If it doesn’t work pop it back into the rice and give it another 24 hours.
Prevention is better than the cure
Now none of these methods are foolproof, so prevention is always better than a cure when it comes to iPhone water damage. Especially as Apple state that liquid damage to an iPhone isn’t covered by your warranty or the AppleCare Protection Plan (find out more about this and the LCI here).
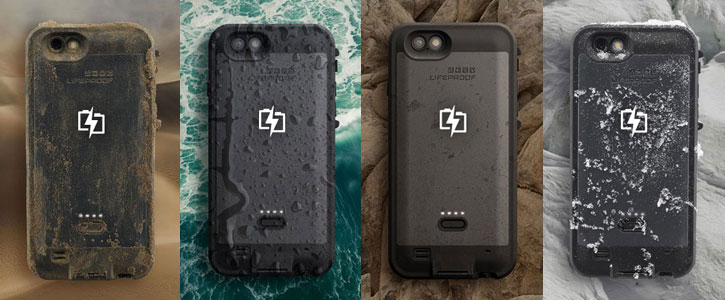
If you know that you’re going to be doing something where your iPhone could get a little soggy – going to the beach, kayaking, or if you live in the UK, just generally going outdoors from the months of October to April – then you might find a waterproof case quite handy.
And as if by chance you’ll find a great range available here at Mobile Fun!
iPhone 6 waterproof cases > iPhone 6 Plus waterproof cases >
iPhone 6S waterproof cases > iPhone 6S Plus waterproof cases >
A bit disappointed that your article didnt cover the ‘freezer method’ which is required AFTER the methods above do not work because the phone has burned one of the circuits on the board because the water to into the board before you had a chance to turn off the phone and dry it out…