The iPhone SE is a brilliant little phone, but like its predecessor it only comes with 16GB of storage (unless you spring for the 64GB version). If you’re running out of space, we have some simple solutions to set things right again — be efficient with the space you’ve got, reclaim some space you’ve used, and make sure you’re keeping the bulk of your media off your iPhone.
Be storage-efficient
First up — your iPhone is set up by default to use a lot of space, particularly in the camera app. Here are three Camera app features you should turn off if you want to save space.
Turn off the Live Photos feature
Live Photos are short videos, recorded just before and after a photo is taken. They’re cute, but they’re also very costly when it comes to storage space. Turn off the Live Photos feature by tapping the yellow icon in the top centre of the camera app (when holding your iPhone in portrait). The concentric circles icon will turn white when the feature is disabled.
Turn off HDR backup photos
This one is less costly, but still adds up to many wasted megabytes over the life of your iPhone. By default, whenever you shoot in HDR mode, your iPhone will keep two photos: the original photo, and the HDR’d version. Oftentimes the HDR version is the only one you need, so you’re doubling your storage requirements for basically no reason. Go to Settings > Photos & Camera and deselect Keep Normal Photo.
Don’t shoot in 4K
You can shoot in 4K with the iPhone SE… but that doesn’t mean you should. 4K video takes roughly four times as much space as 1080p (if you’re shooting at 30fps in both), and that adds up fast. You can change the option in Settings > Photos & Camera > Record Video. I recommend 1080p/60fps — that should be more than enough for posting to Facebook or Vine!
Free up some space
Remove unused apps
This is an obvious one, but given its efficacy it would be foolish to not include it. Regularly go through the big list of apps, and remove ones that you aren’t using. You can always reinstall them later if you need them, and removing even a couple larger apps can free up multiple gigabytes of space.
Settings > General > Storage & iCloud Usage > Manage Storage is where you’ll need to go; give the list a few seconds to populate, and you’ll have a nice breakdown of how much data each app on your iPhone uses. Remove the biggest apps you don’t use first, and keep going until you have enough room. You can even drill down into some apps to remove individual songs, for instance.
Use cloud storage
Cloud storage is often cited as the reason that Apple haven’t shifted their base level of storage from 16GB to 32GB — and it’s not a bad idea, for sure. Instead of keeping music on your phone, use Spotify or Google Music. Upload your photos to iCloud or Dropbox, removing them after they’re uploaded. Watch videos on YouTube or Netflix instead of copying them to your iPhone. The less media you keep on your iPhone, the more space you’ll have left over for apps.
Move media off your iPhone
If you have downloads, music, movies or photos on your iPhone that you don’t need, you can copy them to a Mac or PC using our Connecting your iPhone to a computer guide. There are also some cool gadgets to make that task a little easier.
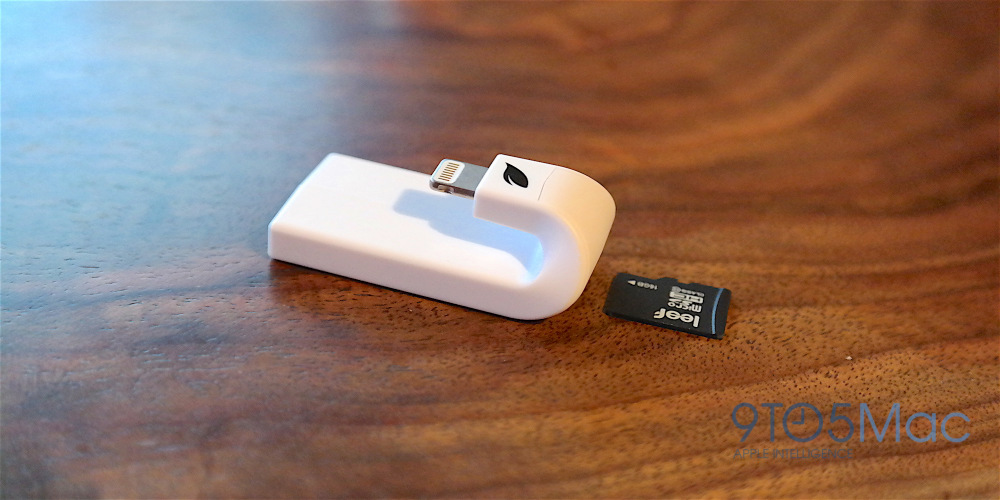
Use the Leef iBridge or iAccess
The Leef iBridge is a USB drive with a Lightning plug, making it super easy to move photos and videos off your iPhone SE. Just plug it into your iPhone, move your media using the iBridge app, and then move them to your PC. You can also use it to copy files between iPhones and iPads, which can be handy in a pinch. You can also watch videos directly from the device, so you can watch downloaded TV or films without copying it to your iPhone and taking up its limited space. You can also use the Leef iAccess, a similar device that gives your iPhone Micro SD storage.
Back up to a USB drive
You can use other gadgets to plug in USB drives, too. This Connection Kit is one option, complete with a USB port for connecting flash drives and portable hard drives, and SD card slots of various sizes to let you copy across photos. If you remember to keep taking your photos off your iPhone and putting them on your PC, you should be able to stave off the dreaded ‘Cannot take photo’ message indefinitely!
Signing off
We hope our tips helped. Let us know what you think in the comments below!